Physical Address
304 North Cardinal St.
Dorchester Center, MA 02124
Physical Address
304 North Cardinal St.
Dorchester Center, MA 02124
Uncover the surprising lifespan of RV roofs and essential maintenance secrets that could save you thousands in costly repairs.
Your RV’s roof is your first line of defense against the elements, and its lifespan can vary dramatically based on the material and how well you maintain it. While you might get 50 years from an aluminum roof, you’ll only see 10-20 years from EPDM rubber. Don’t let these numbers worry you, though – with the right maintenance approach, you can maximize your roof’s durability and avoid costly replacements. Let’s explore what it takes to keep your RV’s roof in top condition.
When choosing an RV roof material, it’s essential to understand how long each type will last and what maintenance they’ll require. Your options include EPDM rubber, which typically lasts 10-20 years and offers good water resistance at an economical price point. Regular cleaning and applying protective coating every two years will help maintain its integrity.
TPO rubber provides better heat resistance and can last 15-25 years, while PVC shares similar properties and lifespan.
If you’re looking for maximum durability, consider fiberglass or aluminum roofs. Fiberglass can serve you well for 20-30 years and won’t rust or rot, though repairs can be expensive.
Aluminum tops the list with a potential 30-50 year lifespan and excellent puncture resistance, but you’ll pay more upfront.
Remember that these lifespans depend heavily on proper maintenance, installation quality, and your RV’s exposure to weather conditions.
Several critical factors determine how long your RV roof will last and how well it performs over time.
The environment plays a major role – UV exposure, extreme temperatures, and moisture can degrade your roof materials quickly. If you’re frequently traveling through harsh weather conditions or storing your RV outdoors, you’ll likely see faster wear.
Your maintenance habits greatly impact durability. Regular cleaning, prompt repairs, and consistent inspection for damage can prevent small issues from becoming costly problems. Like traditional homes where 33% of replacements are due to leaks, preventive maintenance is crucial for RV roofs.
The type of material you’ve chosen matters too – while PVC might cost more upfront, it often lasts longer than cheaper alternatives.
Finally, how you use your RV affects roof longevity – frequent travel, roof weight loads, and accumulated mileage all contribute to wear and tear over time.
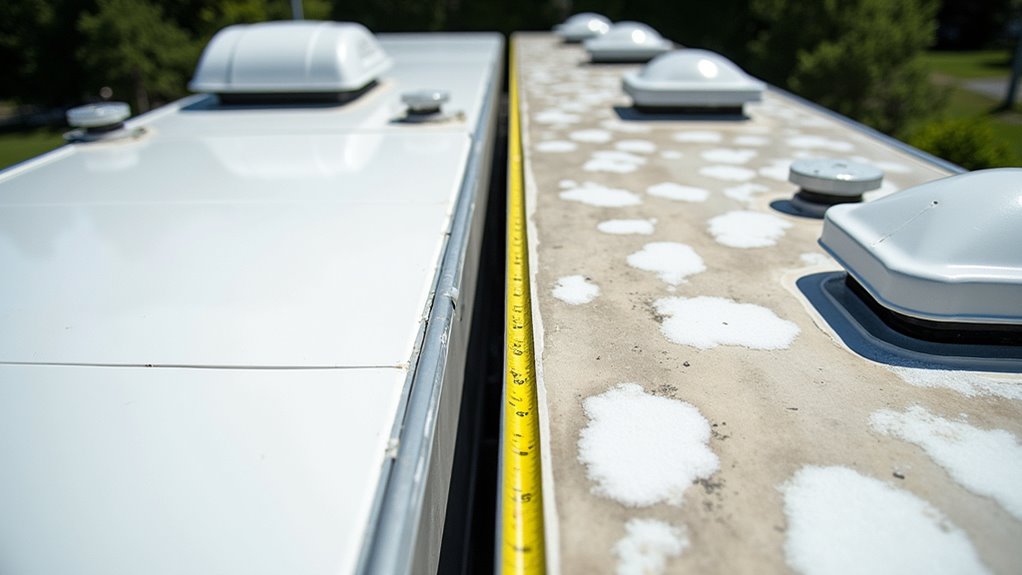
Regular monitoring for roof deterioration can save you thousands in repair costs and prevent serious damage to your RV’s interior.
By knowing what to look for, you’ll catch problems early when they’re easier and less expensive to fix.
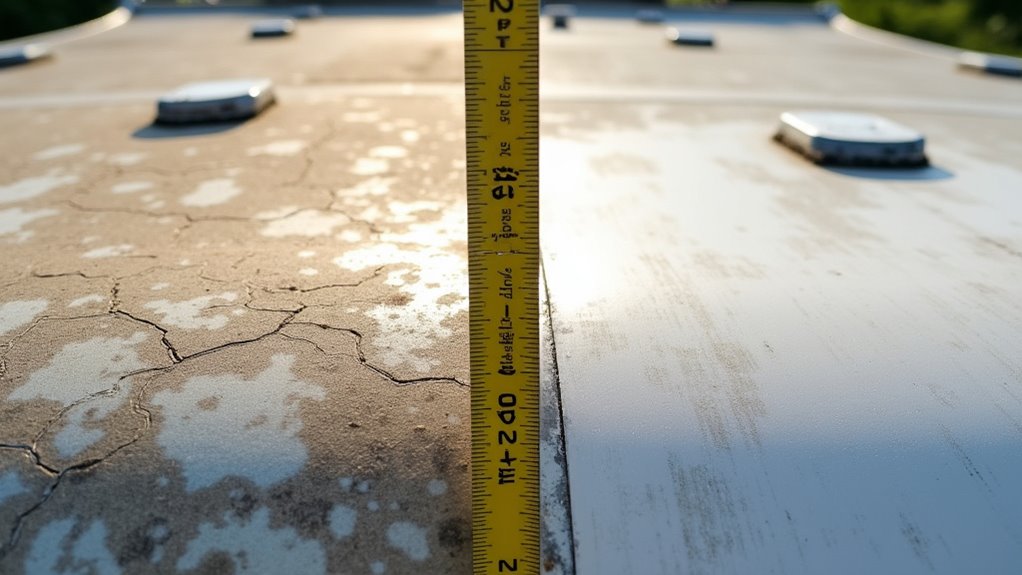
A thorough RV roof inspection checklist serves as your essential roadmap to maintaining your RV’s protective barrier.
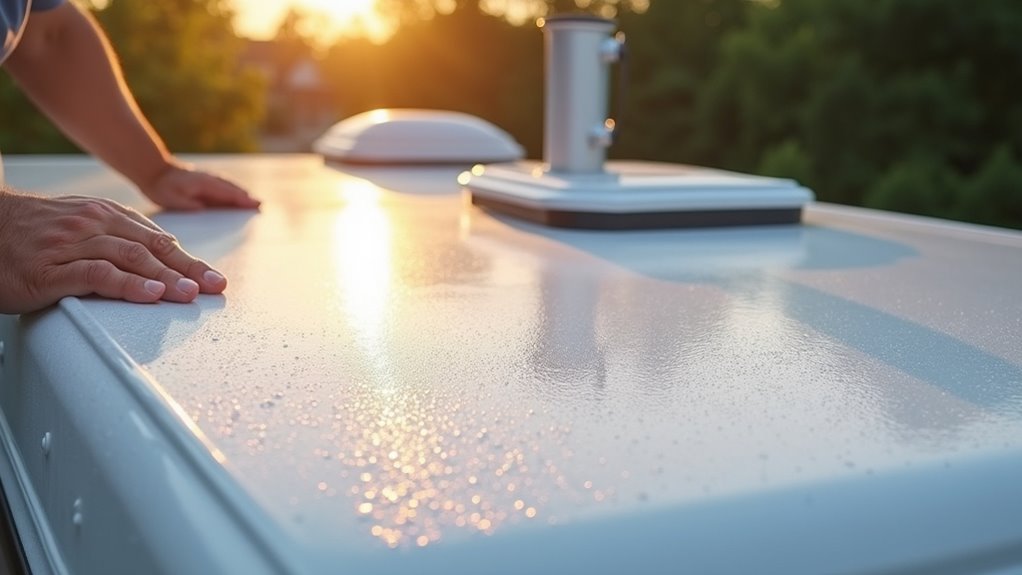
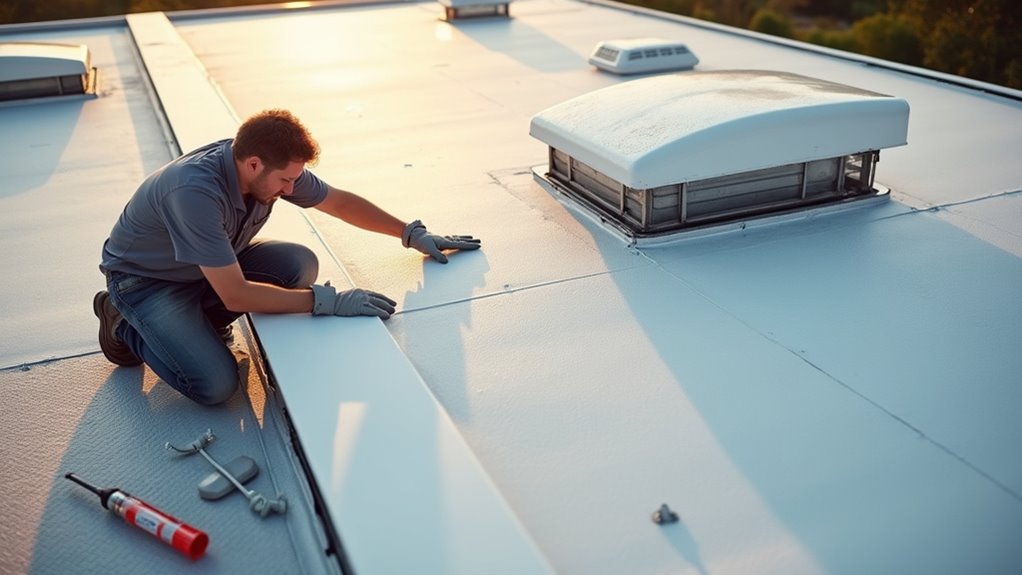
Start by choosing ideal conditions – inspect during clear, dry weather at the beginning and end of each season. Regular professional inspections can help identify hidden problems early. You’ll need proper safety gear, including slip-resistant shoes and gloves, plus a sturdy ladder and spotter.
Safety first: Perform RV roof inspections in clear weather with proper gear and a reliable spotter to ensure thorough results.
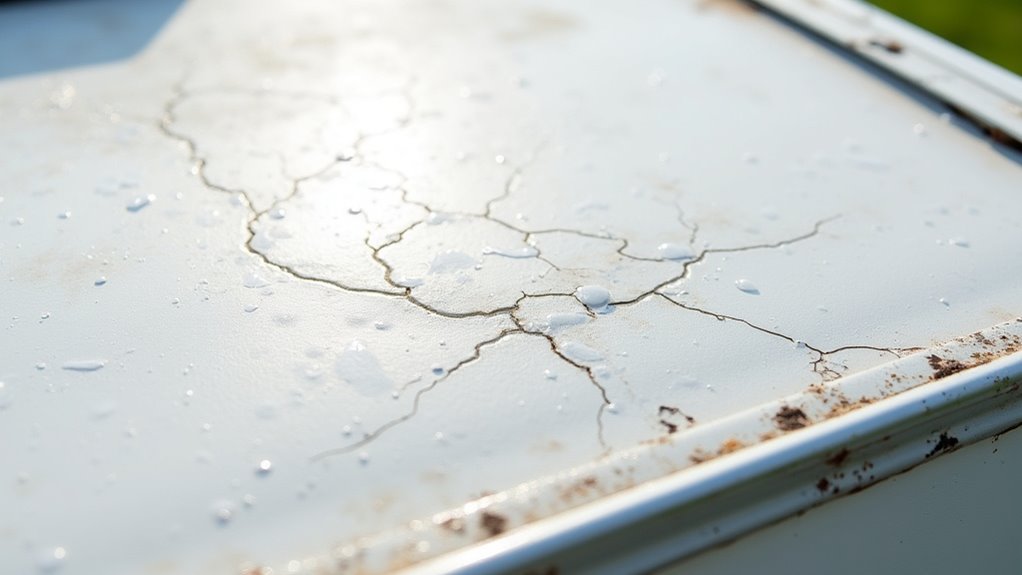
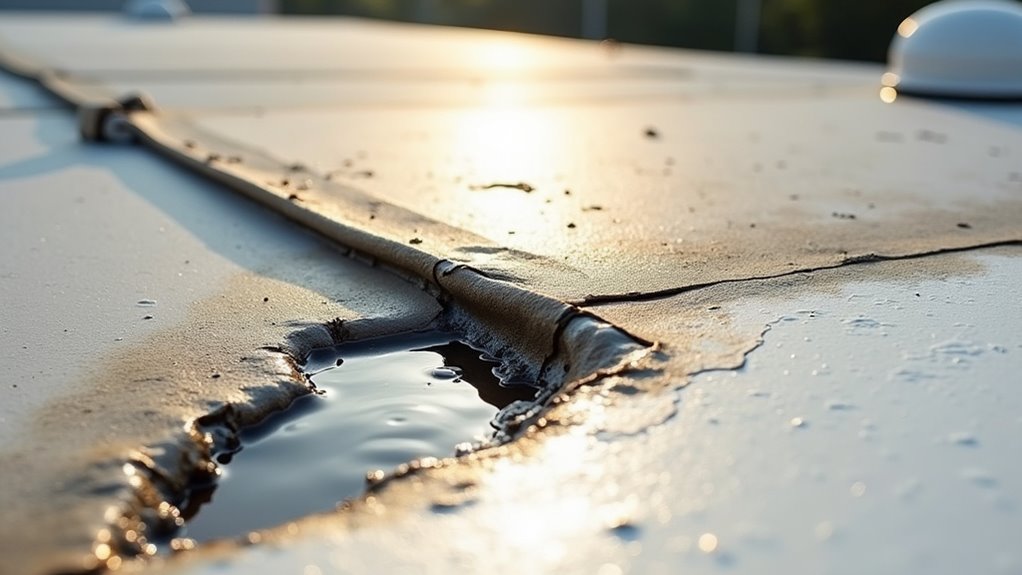
Examine all structural components systematically. Look for sagging, cracks, or loose panels on the roof surface. Check seams, seals, and flashing around vents and other penetrations.
Don’t forget to inspect your RV’s interior for water stains, soft spots, or mold that might indicate leaks.
Document everything you find with photos and detailed notes. Keep records of all inspections and repairs – they’re invaluable for warranty claims and tracking your roof’s condition over time.
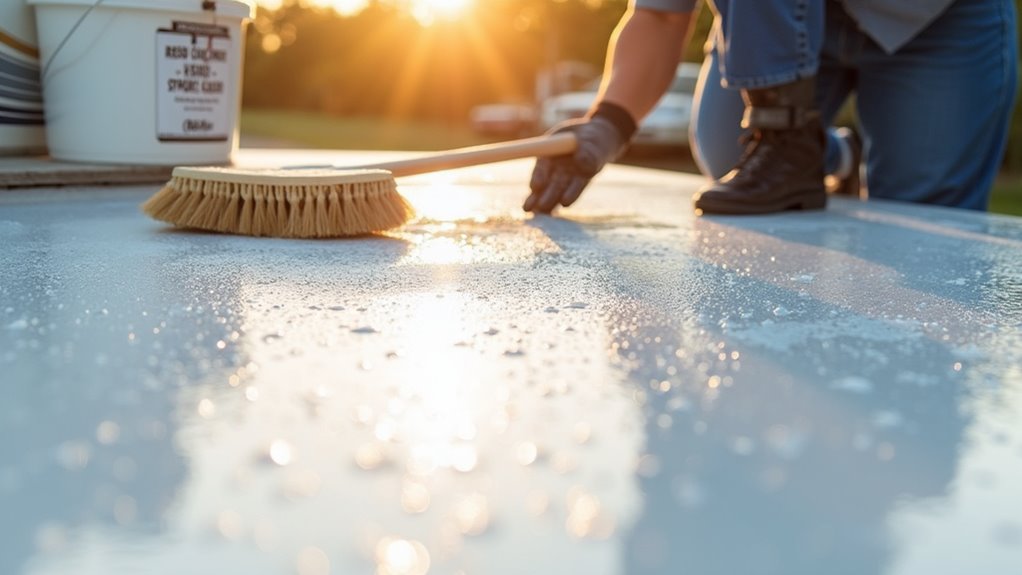
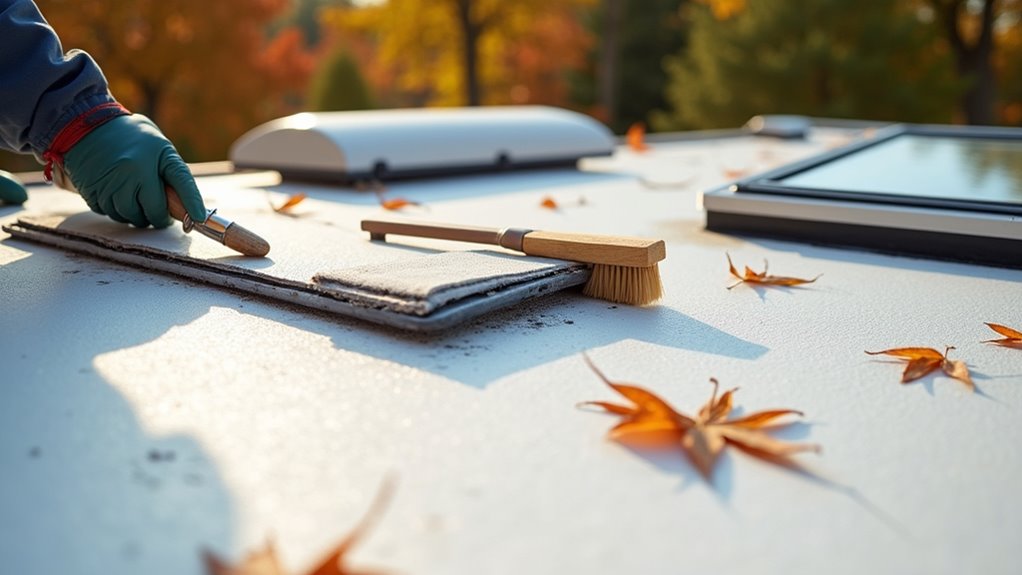
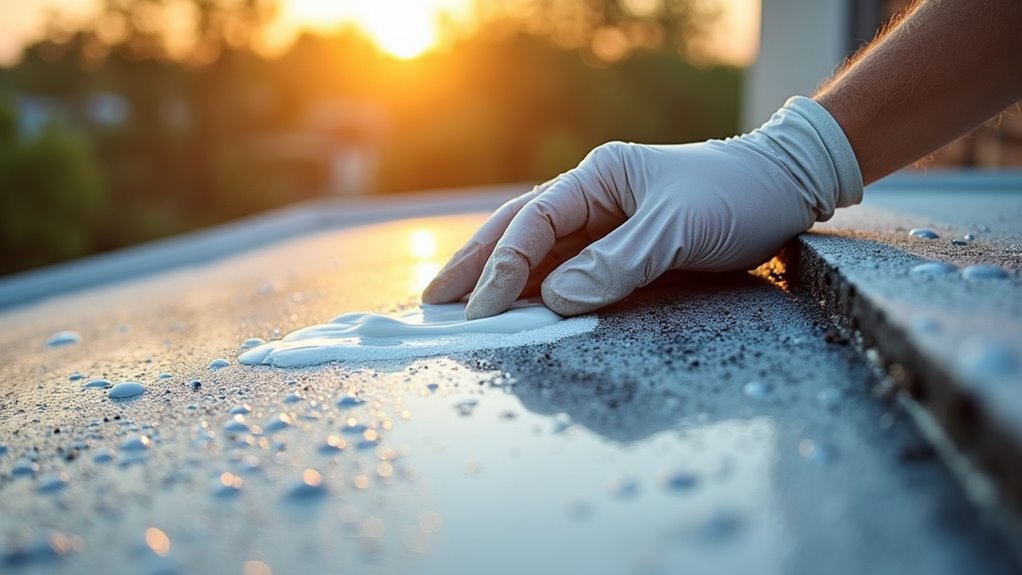
While maintaining your RV’s roof might seem challenging, proper cleaning techniques can extend its life and prevent costly repairs. Choose a mild soap solution for rubber roofs and avoid harsh chemicals that could damage the material. Work during early morning or cloudy conditions to prevent premature drying of cleaning products.
Simple Green cleaner has proven to be the most effective cleaning solution for RV roofs while leaving minimal residue. Remember to check your manufacturer’s guidelines for compatible cleaning products and maintain regular cleaning schedules to prevent dirt buildup.
Deciding between professional and DIY RV roof maintenance comes down to weighing several key factors: cost, expertise, and long-term value.
While you’ll save on labor costs with DIY maintenance, professional service offers significant advantages. You’re getting expert knowledge, industry-grade materials, and often a warranty that protects your investment.
Professional work typically costs $1,000-$2,500, but it can prevent the $5,000-$10,000 expense of a full roof replacement due to improper repairs.
If you’re considering DIY maintenance, you’ll need thorough knowledge of roofing materials and techniques. Remember that mistakes can lead to water damage and void warranties. A thorough inspection of roof seals and seams should be performed regularly to prevent leaks.
Professional maintenance not only increases your RV’s resale value but also catches potential issues early, saving you money in the long run.
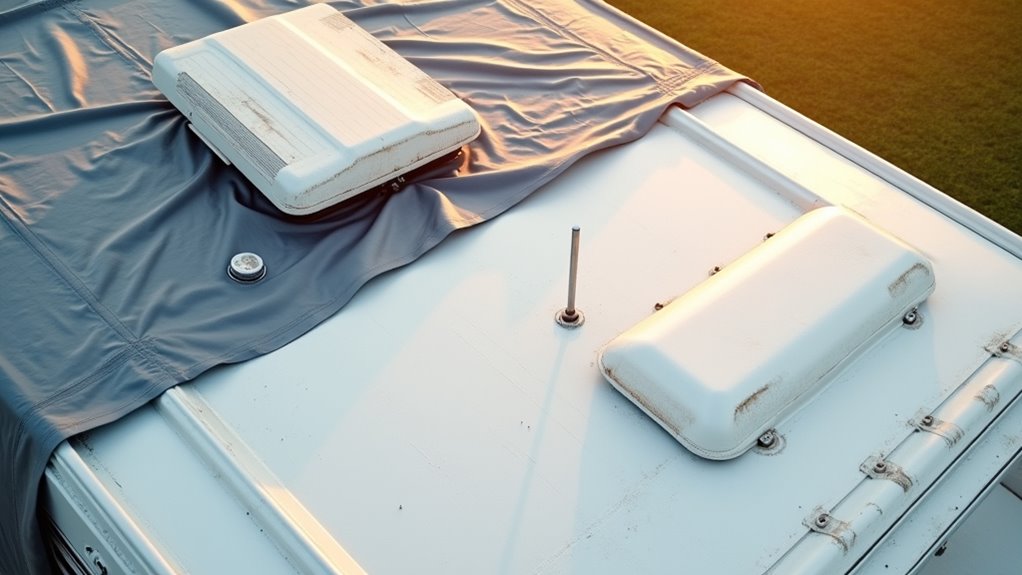
Proper storage protection can greatly extend your RV roof’s lifespan and prevent costly repairs. When storing your RV, you’ll want to focus on thorough protection against environmental elements while ensuring proper ventilation to prevent moisture buildup.
Understanding the cost implications of RV roof maintenance versus replacement can greatly impact your long-term ownership expenses. Regular maintenance, including cleaning, inspections, and timely repairs, typically costs a fraction of what you’ll spend on a full replacement.
While professional roof replacement can cost several thousand dollars, especially for larger RVs or premium materials like FlexArmor, consistent maintenance can extend your roof’s lifespan considerably. Poor decisions on materials can result in frequent costly repairs down the road. You’ll save money by catching minor issues before they escalate into major problems requiring extensive repairs.
Don’t overlook the hidden costs of neglect – water damage from leaks can lead to expensive structural repairs.
If you’re facing replacement costs, many providers offer financing options to help manage the expense. However, investing in high-quality materials and professional installation often proves more cost-effective in the long run.
While RV roofs are built to withstand various weather conditions, they face considerable challenges from nature’s elements. UV rays cause material deterioration, while hail can inflict costly damage, especially to aluminum roofs. According to climate data, extreme weather events are becoming increasingly frequent, putting RVs at greater risk.
Temperature fluctuations create sealant cracks, and snow accumulation adds dangerous weight to your RV’s structure.
To protect your RV roof from weather-related damage:
Regular maintenance and proactive protection will greatly extend your RV roof’s lifespan despite challenging weather conditions.
Like the tortoise and the hare, your RV roof’s longevity isn’t about speed but consistency. You’ll get the most life from your roof by following regular maintenance, staying alert to warning signs, and taking prompt action when issues arise. Whether you’ve got EPDM rubber or aluminum up top, these nine maintenance tips will help protect your investment and keep you adventuring for years to come.