Physical Address
304 North Cardinal St.
Dorchester Center, MA 02124
Physical Address
304 North Cardinal St.
Dorchester Center, MA 02124
Having trouble with your RV's AC fan? Discover the common causes and quick fixes to get your cooling system running again.
When your RV’s AC fan stops working, you’re facing more than just an uncomfortable situation – you’re dealing with a potential camping nightmare. You’ll notice the problem right away: no air movement, strange noises, or weak airflow from your vents. While it’s tempting to immediately call a repair service, many AC fan issues have simple solutions you can handle yourself. From basic power problems to worn-out components, let’s explore the most common culprits and their fixes.
A malfunctioning RV air conditioner fan can quickly turn your road trip into an uncomfortable experience.
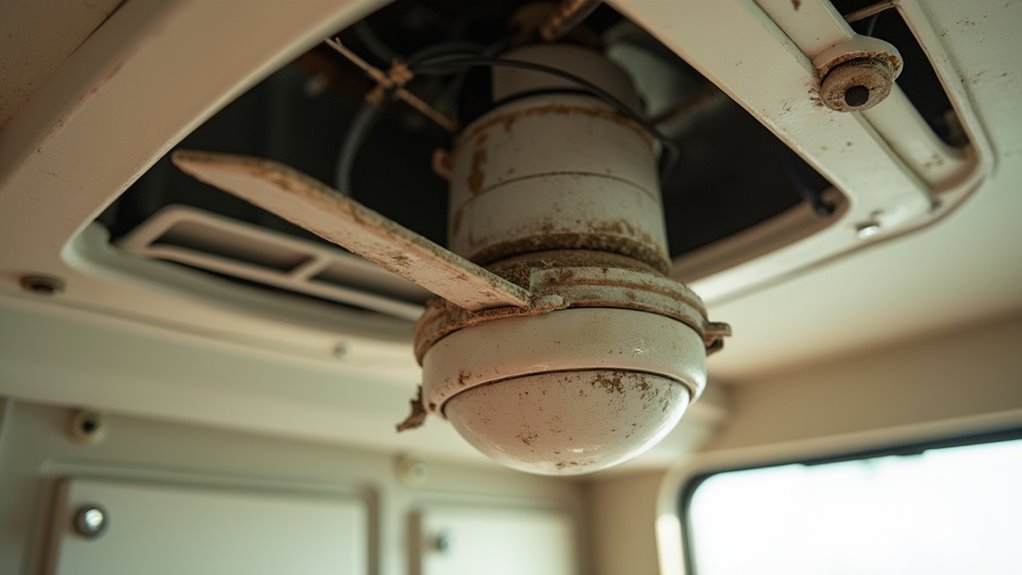
You’ll notice several telltale signs when your RV’s AC fan isn’t working properly. The most obvious symptom is when the fan won’t spin at all, even though you might hear a humming sound from the unit. Low voltage issues at the campground pedestal can prevent proper fan operation.
Watch for fans that rotate slowly or sputter, as this often indicates worn bearings or capacitor issues.
If your fan runs intermittently, turning on and off by itself, you’re likely dealing with overheating problems or loose wiring connections.
Unusual noises like rattling, grinding, or excessive humming shouldn’t be ignored – they’re warning signs of impending failure.
You’ll also notice poor cooling performance and weak airflow throughout your RV, even when the AC unit appears to be running.
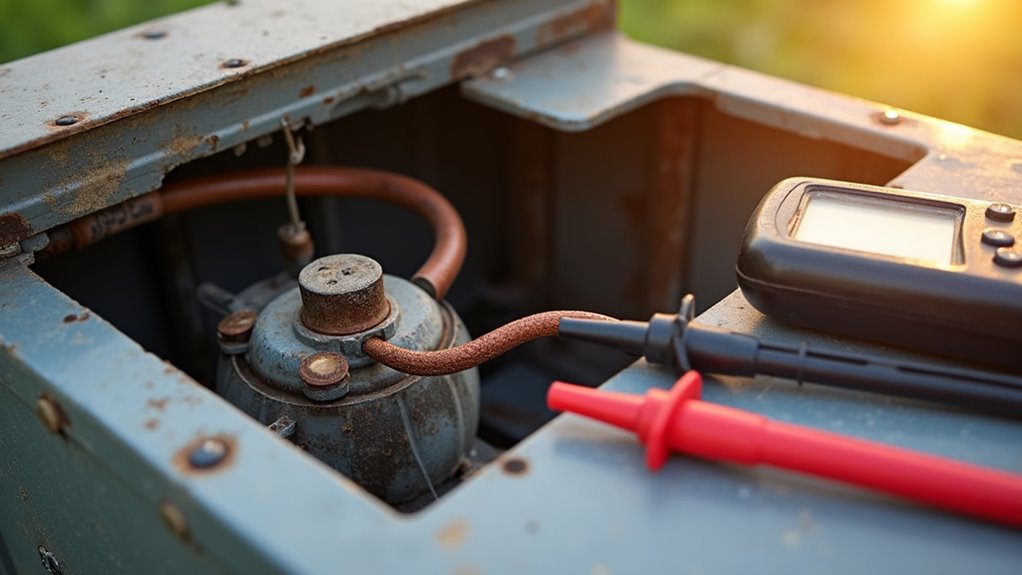
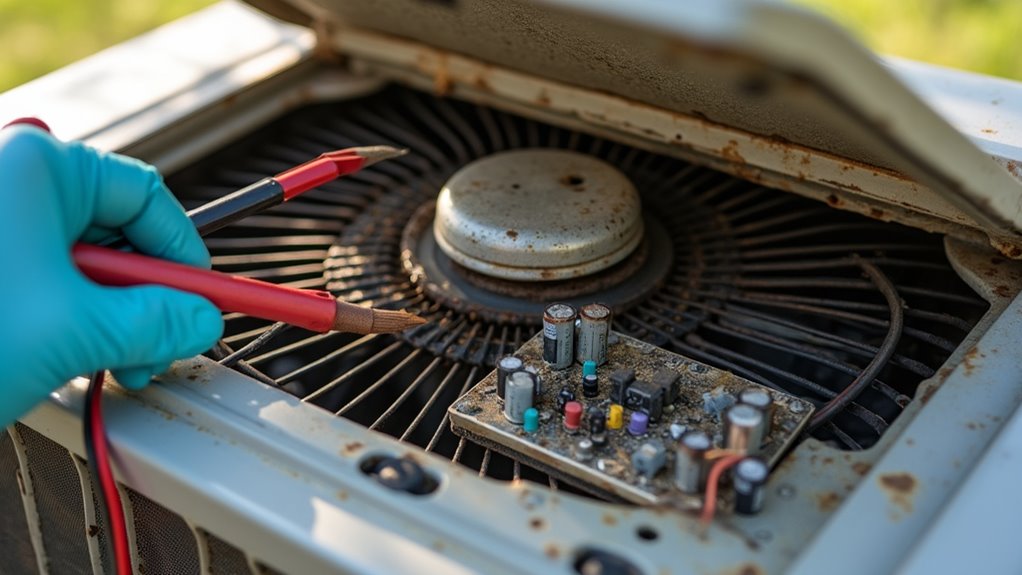
Many RV air conditioner fan problems trace back to power supply and electrical connections.
You’ll need to check both your 120-volt AC and 12-volt DC power supplies, as your RV’s air conditioner uses both to operate properly. Using a multimeter, you should measure 115V DC at each fan speed setting for proper voltage verification. Start by checking your voltage levels with a multimeter at the pedestal or electrical panel.
Low voltage is a common culprit that can increase amperage and trip your breakers. Inspect your terminal blocks for corrosion or loose connections, which can disrupt power flow.
Make certain your wiring is properly connected and free from damage. If you notice repeated breaker tripping, verify that your circuit breakers are correctly sized for your AC unit’s load.
Don’t forget to check your Electrical Management System (EMS) to guarantee it’s properly distributing power to your AC unit.

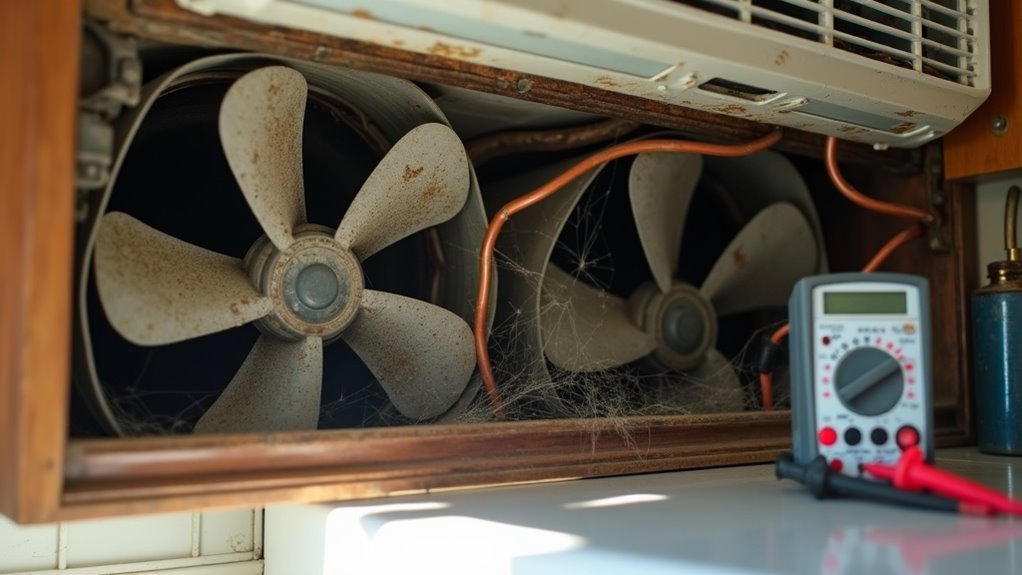
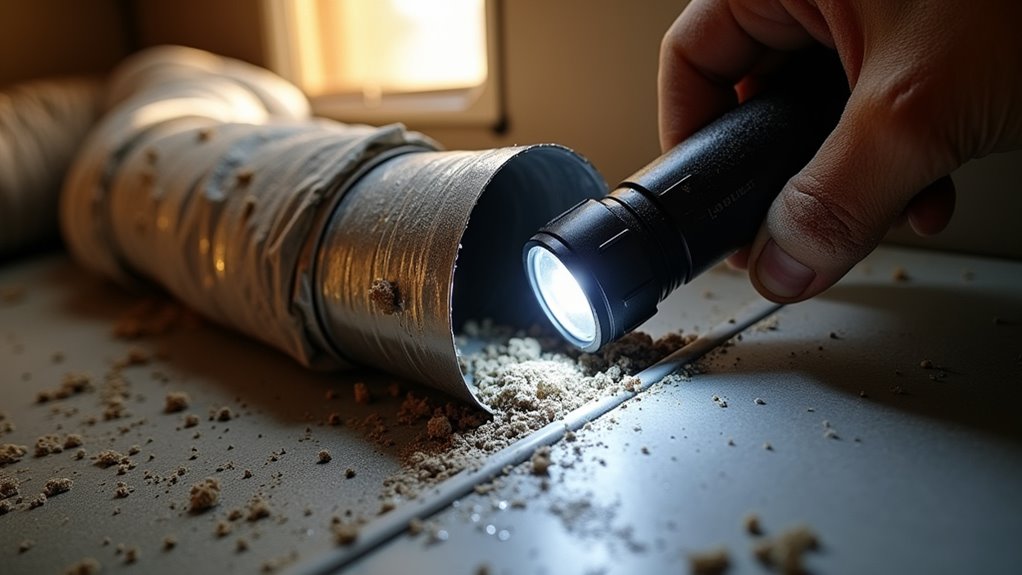
Regular inspection of your RV’s air filters plays an essential role in maintaining ideal AC performance and air quality.
Keep your RV’s air conditioning running smoothly and breathe easier by making filter inspection part of your regular maintenance routine.
You’ll need to power down your AC unit and carefully remove the cover to access your filter. Before cleaning, check for any tears or permanent damage that might signal it’s time for a replacement.
For reusable filters, start by vacuuming both sides to remove loose debris. If it’s heavily soiled, soak it in warm, soapy water for 10 minutes, then gently scrub with a soft brush.
After rinsing thoroughly, disinfect with a vinegar solution or antibacterial spray. Don’t forget to let it dry completely before reinstallation. Experts recommend performing this routine maintenance every six months to ensure your AC system operates at peak efficiency.
If you’re noticing poor airflow or unpleasant odors even after cleaning, you might need to upgrade to a higher MERV-rated filter or schedule a professional inspection.
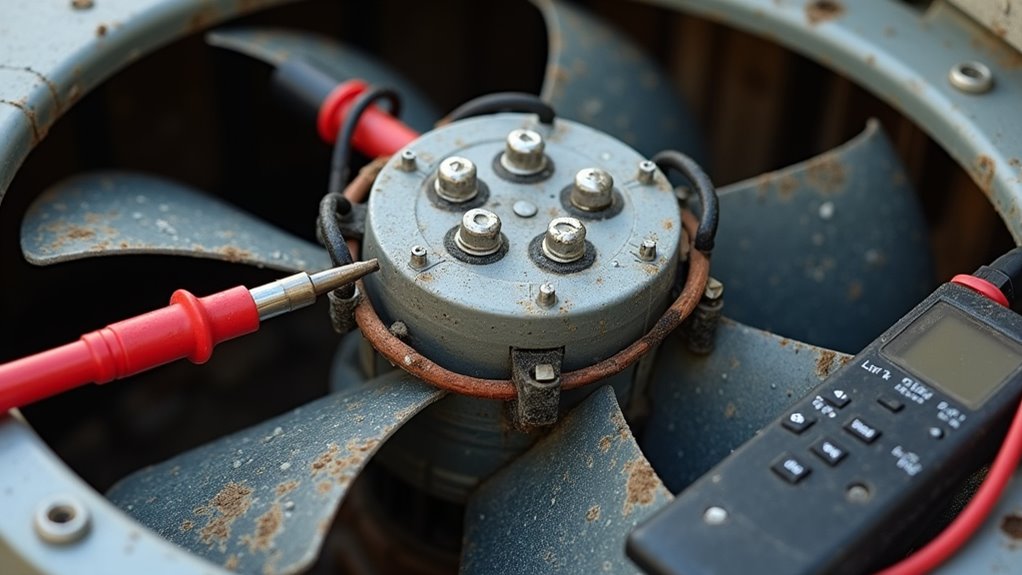
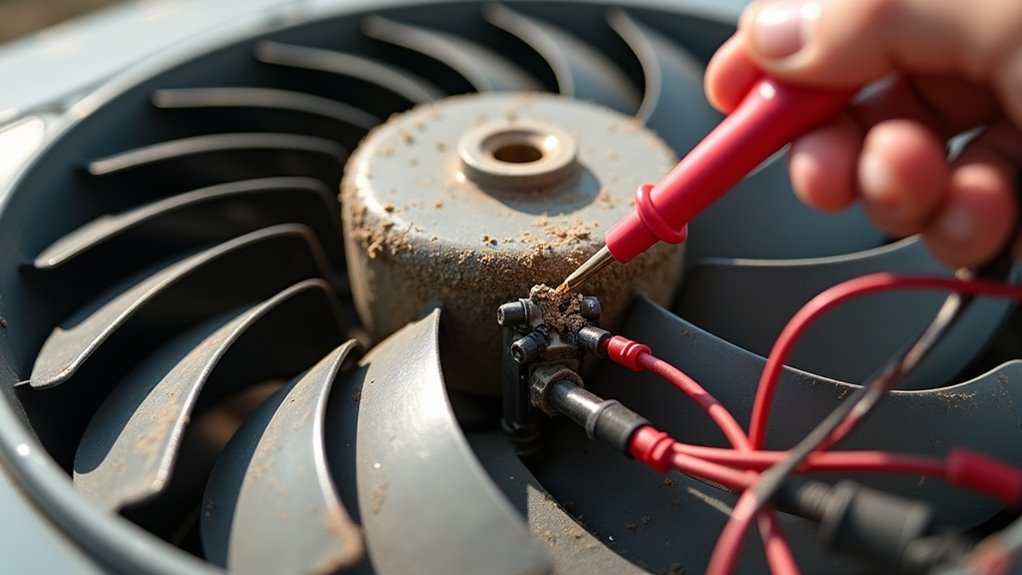
Proper fan motor troubleshooting starts with a systematic approach to identify the root cause of any issues.
First, check if your RV’s AC unit is receiving 120-volt AC power and that all circuit breakers and fuses are intact. Use a multimeter to test voltage levels at key connection points.
Next, test the fan motor’s windings with an ohmmeter to check for shorts or open circuits. You’ll want to measure resistance between the white wire and each colored wire. If you get a zero or infinite reading, your motor likely needs replacement.
Don’t forget to inspect the capacitor – it’s essential for motor operation. Test it with a capacitor tester after safely discharging it. If it’s more than 10% off its rated value, replace it. When replacing capacitors in older units, consider replacing both the start and run capacitors since they commonly fail after 10 years.
Also, check all electrical connections for corrosion or looseness.
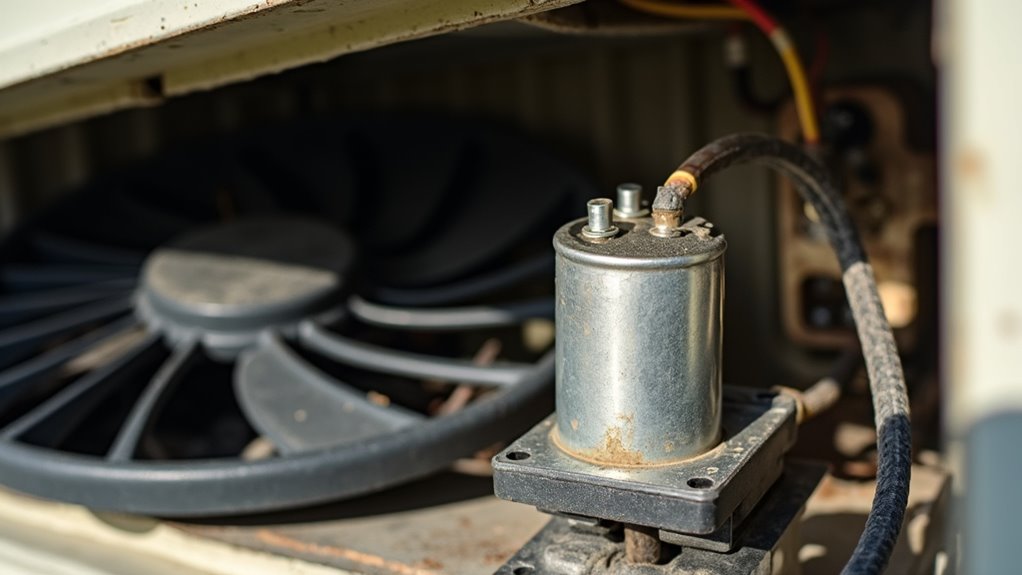
When your RV’s AC fan starts acting up, capacitor problems are often the culprit.
A malfunctioning RV air conditioner fan typically points to capacitor issues, one of the most common AC system problems.
You’ll likely notice telltale signs like humming noises, intermittent operation, or the fan refusing to start altogether. These issues can stem from either a faulty start capacitor or run capacitor.
You can identify capacitor failure through simple observations and tests. Installing a hard start kit can help resolve persistent capacitor-related issues.
Listen for buzzing sounds, check if your circuit breakers keep tripping, or look for visible damage on the capacitor itself.
If you’re comfortable using a multimeter, you can test the capacitor’s performance – just remember to discharge it first for safety.
When replacing a capacitor, make sure you match the exact specifications of the original unit and always disconnect power before starting work.
Incorrect capacitor ratings can lead to system failure.
Three key components make up a thorough ductwork inspection in your RV’s AC system: the physical ducts, airflow patterns, and distribution efficiency.
Start by using an endoscope camera to check for internal duct damage without taking things apart. Look for debris accumulation, bent fins, and blocked vents that could restrict airflow. Monthly cleaning practices will help prevent buildup that impacts airflow quality.
Don’t forget to inspect your divider seals in air distribution boxes – they’re essential for maintaining consistent airflow.
You’ll want to test for leaks using pressure testing equipment and seal any gaps with aluminum tape. Check that your ducts are properly insulated and securely mounted.
If you spot refrigerant leaks or complex issues, it’s best to call a professional.
Remember to clean or replace your air filters regularly, as they’re often the first line of defense against airflow problems.

Environmental conditions play an essential role in how well your RV’s AC fan performs. If you’re parked in direct sunlight, your AC fan will work harder to cool the space, especially if your RV has a dark exterior that absorbs more heat.
High humidity can also strain your unit by increasing the latent heat load and potentially causing coil freezing. A Furrion Chill® unit can help manage moisture levels more effectively by producing up to 25% dryer air than standard AC units.
To protect your AC fan’s performance, park in shaded areas whenever possible and manage your RV’s internal environment. Keep your roof vents open to let hot air escape, and consider using a small dehumidifier in humid conditions.
Running your fan on high speed can help prevent moisture from freezing on the coils. Don’t forget to regularly clean your filters, as air pollution and debris can restrict airflow and reduce efficiency.
Maintaining your RV’s AC fan properly can prevent costly repairs and guarantee reliable cooling performance throughout your travels. Regular maintenance tasks aren’t complicated, but they’re essential for keeping your system running smoothly.
While many RV AC fan issues can be resolved through basic maintenance, knowing when to call a professional technician can save you time, money, and potential safety hazards.
You’ll need expert help if you notice persistent problems like inadequate cooling, weak airflow, or frequent on-off cycling that basic troubleshooting can’t fix. Regular maintenance can catch these problems early and prevent extensive damage to your AC unit.
Don’t ignore unusual noises such as grinding, rattling, or squealing, as these often indicate worn bearings or motor damage. If you smell burning odors or notice your AC fan won’t start, it’s time for professional intervention.
Call a technician immediately if you spot water leaks, refrigerant issues, or electrical problems like tripped breakers or damaged wiring.
You’re now armed with enough AC fan knowledge to make your RV mechanic nervous – congratulations! While you can’t fix every problem with duct tape and determination (though it’s clear you’re going to try), at least you’ll sound impressively informed when something goes wrong. Remember, if all else fails, there’s always the time-honored tradition of parking in the shade and pretending the fan’s working perfectly fine. Keep cool!