Physical Address
304 North Cardinal St.
Dorchester Center, MA 02124
Physical Address
304 North Cardinal St.
Dorchester Center, MA 02124
Need to stop your RV's breaker from constantly tripping? Discover the common causes and simple fixes that could save your camping trip.
While dealing with a tripping RV breaker might seem like a complex electrical problem, you don’t need to be an expert to diagnose the basic issues. Your RV’s electrical system is designed to protect itself through circuit breakers, but when they keep tripping, it’s sending you an important message about potential problems. From overloaded circuits to faulty wiring, several common causes could be behind your electrical troubles. Let’s explore the steps you can take to identify and fix the problem safely.

When your RV’s circuit breaker trips repeatedly, it’s usually trying to tell you something important about your electrical system. Circuit breakers are safety devices that protect your RV from electrical overloads and short circuits, preventing potential fires or damage to your appliances.
Your breaker might trip because you’re running too many high-power appliances at once, like your microwave and air conditioner, which can strain your system beyond its capacity. The transfer switch automatically manages power sources to prevent system overload.
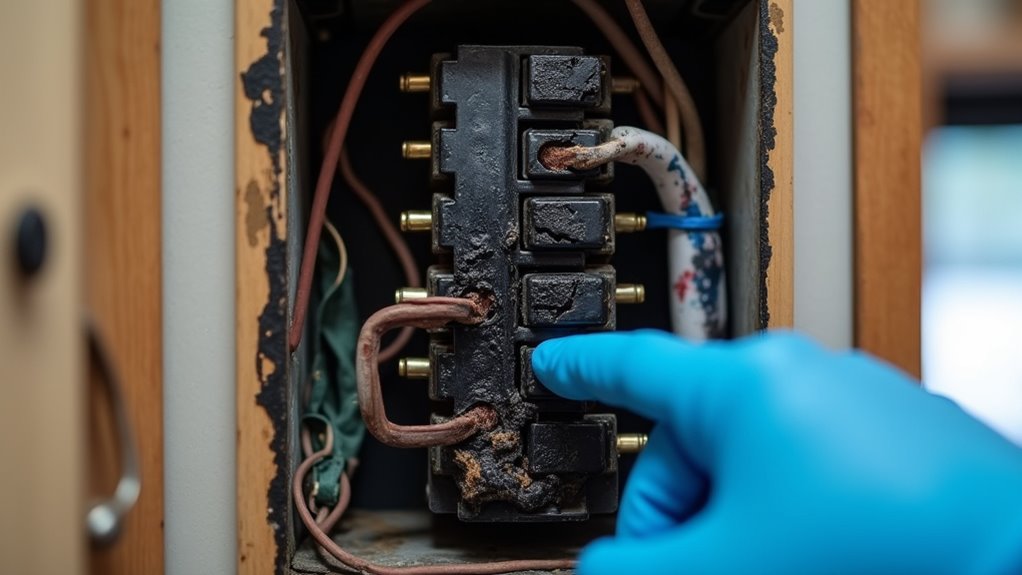
Sometimes, the issue lies with faulty wiring connections or improper grounding. You’ll need to carefully balance your power consumption across different circuits to prevent overloading.
Understanding your RV’s electrical system, including both 12V DC and 120V AC components, will help you identify whether the tripping is due to excessive load, damaged wiring, or a failing breaker that needs replacement.
Although RV breaker problems can seem mysterious, most issues stem from a handful of common causes that you can learn to identify. Understanding these common triggers will help you diagnose and resolve breaker trips more effectively in your RV.
Common RV breaker issues often have simple explanations, making troubleshooting easier once you understand the basic causes and patterns.
Before tackling any RV breaker problems, you’ll need to prioritize safety measures that protect both you and your electrical system. Start by turning off all electrical devices and disconnecting your RV from shore power.
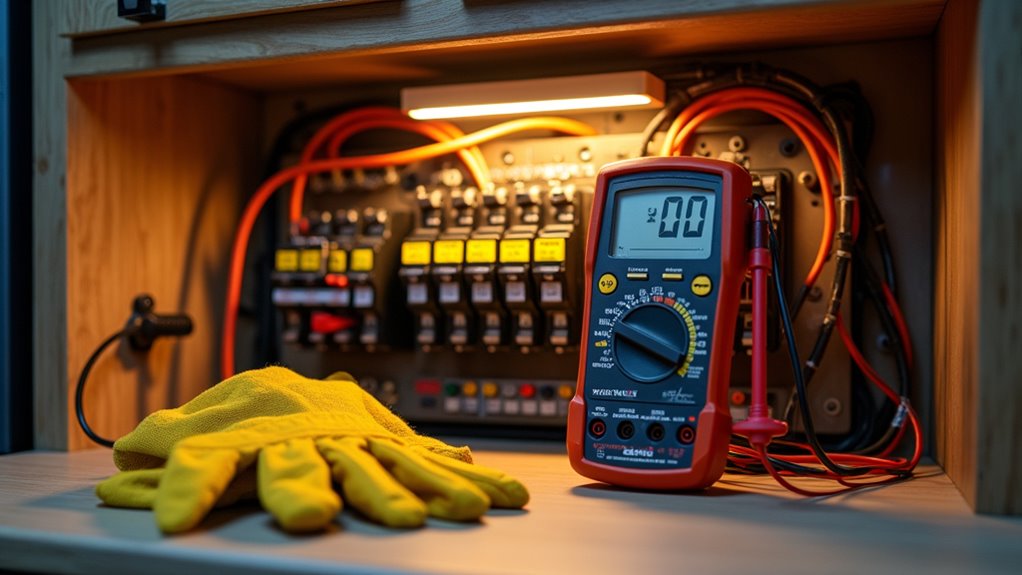
Don’t forget to remove any jewelry that could conduct electricity. Always use proper safety equipment – wear insulated gloves and eye protection while working.
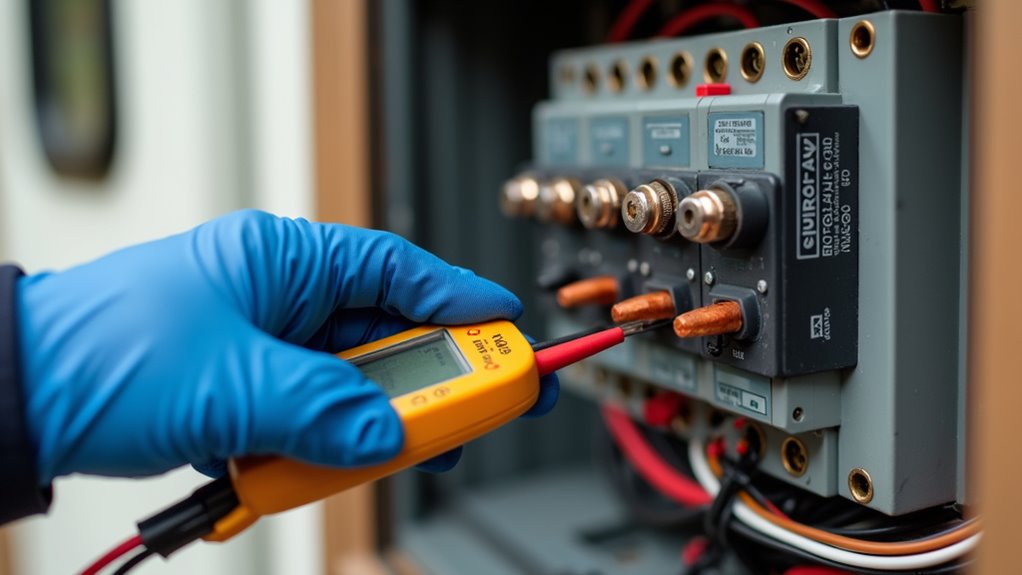
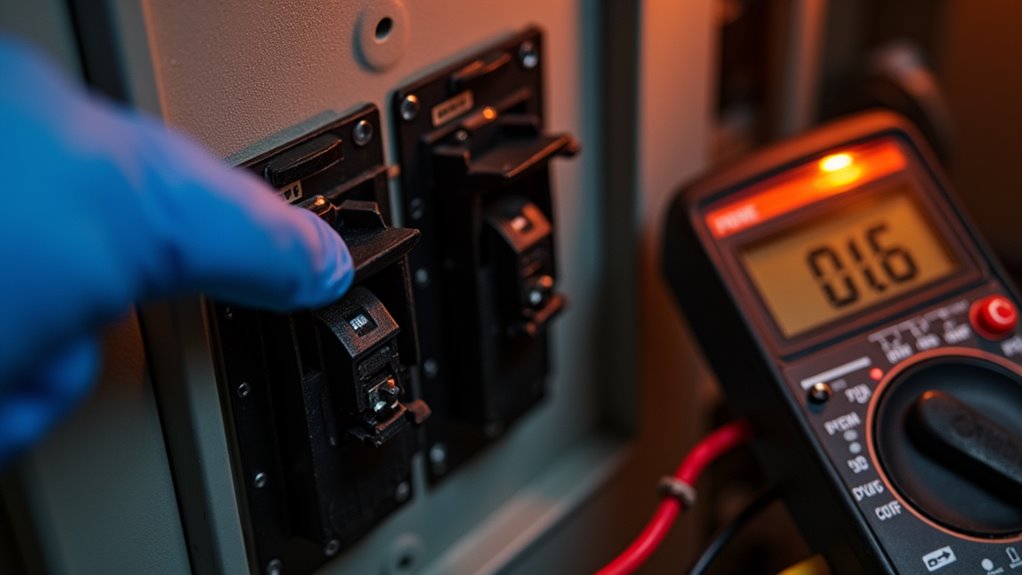
You’ll want a reliable multimeter and insulated tools designed specifically for electrical work. Make sure you’re working in a dry, well-lit area. Consider installing a surge guard device to protect your RV’s electrical components from future power issues.
Check your RV’s manual and electrical diagrams to understand the circuit layout and breaker locations. Verify that breakers and fuses are clearly labeled.
When testing circuits, always use a voltage tester to confirm power is completely off before touching any wires or components.
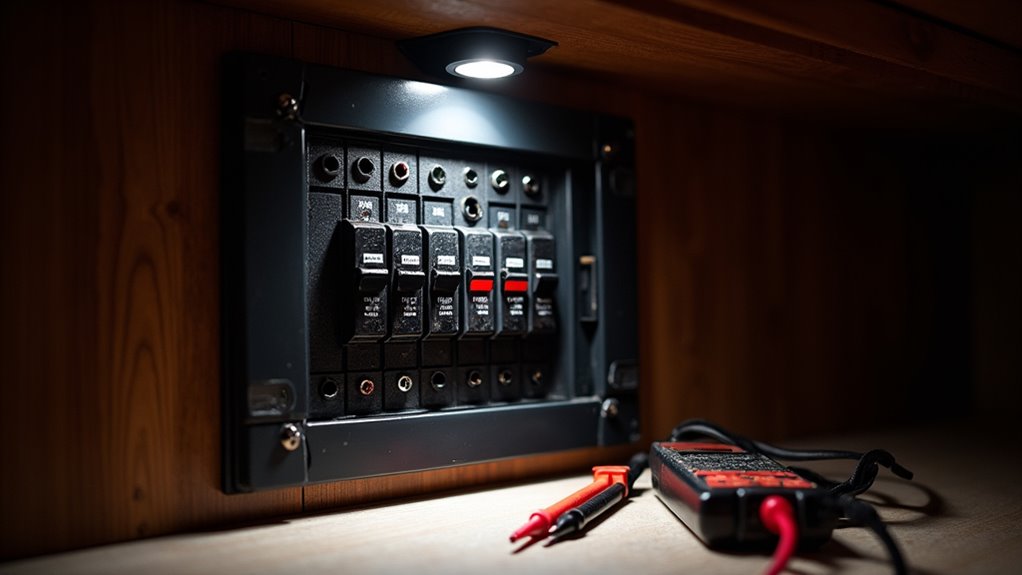
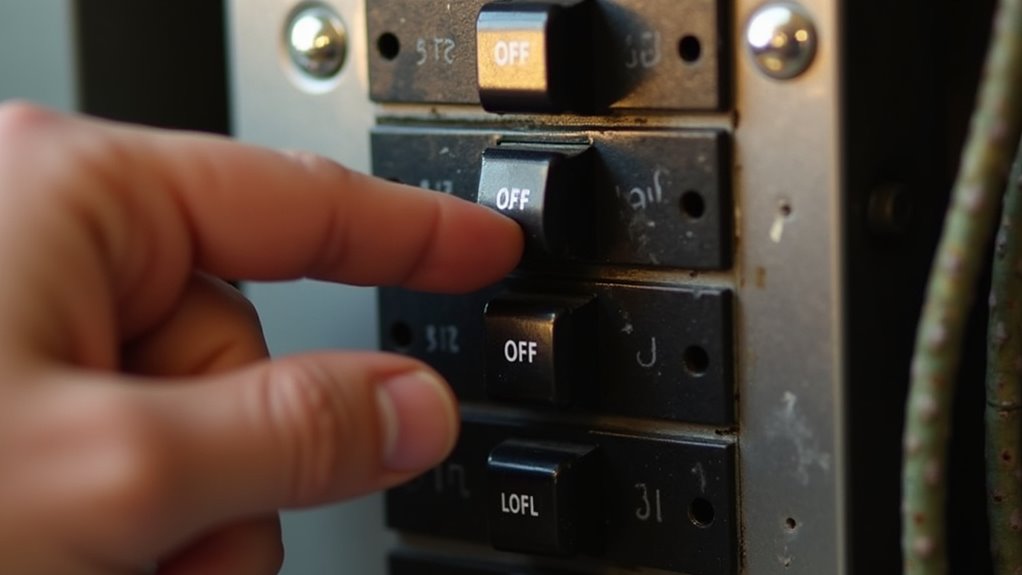
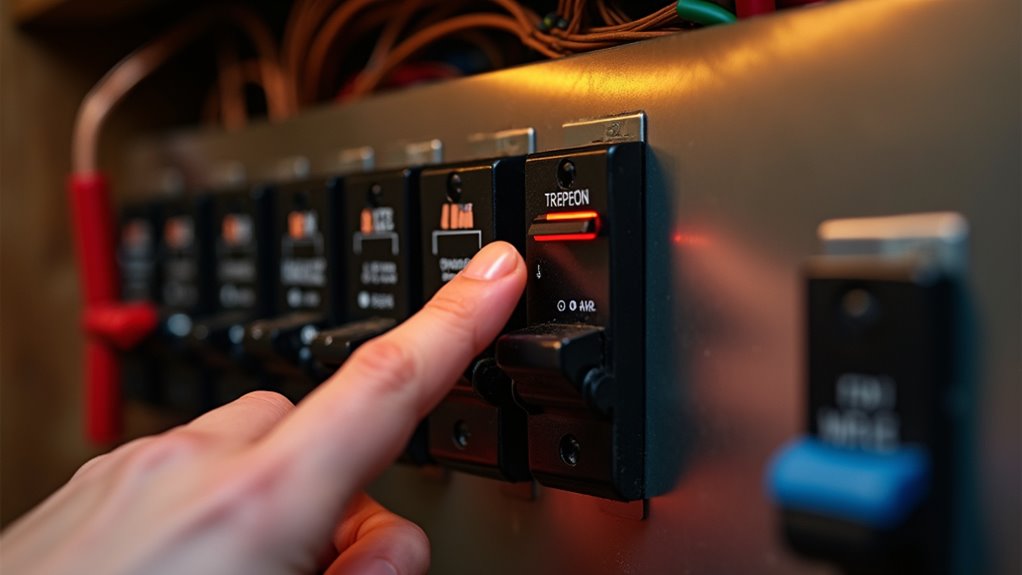
To properly inspect your RV’s breaker panel, you’ll need to follow a systematic approach that starts with identifying the main electrical components. First, locate the metal box containing your main breaker and individual circuit breakers, making sure it’s securely mounted and properly labeled.
Ensure there is at least 36 inches clearance in front of the electrical panel for safe access and maintenance.
Don’t forget to document any issues you find and keep the panel cover securely fastened after your inspection.
If you notice any serious problems, it’s best to contact a qualified electrician.
After inspecting your breaker panel, understanding your RV’s complete electrical system requires a methodical approach.
Start by examining your power sources, including solar panels, generator connections, and shore power hookups. Consider installing a 30A or 50A inlet if you frequently stay at campgrounds. You’ll want to verify that your battery bank is properly connected, either in series or parallel, and that your charge controller is functioning correctly.
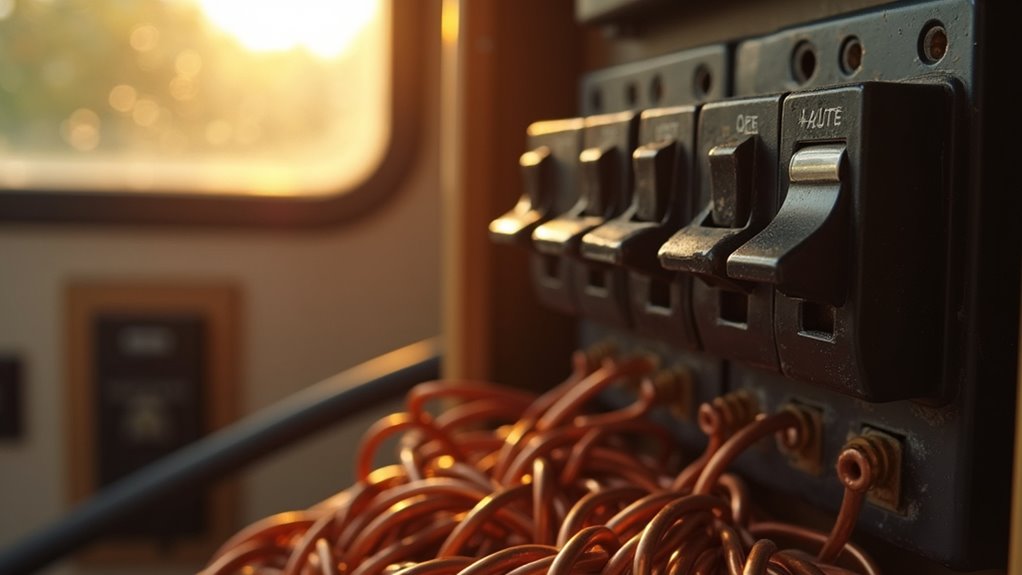
Check all wiring connections, paying close attention to color codes and ensuring appropriate wire gauges are used throughout the system.
Don’t forget to inspect your inverter setup and verify that all fuses match their intended loads. Look for signs of wear, loose connections, or overheating at connection points.
Test your grounding system and make sure your transfer switch operates smoothly when switching between power sources.
Use a battery monitor to track your power usage and charging status.
Maintaining your RV’s electrical system properly can prevent most breaker issues before they start. By implementing a few key practices, you’ll minimize the risk of breaker problems and enjoy worry-free camping adventures.
Several clear warning signs indicate when it’s time to call a professional RV electrician. If your breaker trips immediately after resetting or under normal load conditions, you’re likely dealing with a short circuit or wiring fault that requires expert diagnosis.
Don’t attempt repairs when you notice sparks, burning smells, or visible damage in the electrical panel. Testing shows that a properly functioning outlet should supply 120 volts when connected to power.
You’ll also need professional help when basic troubleshooting fails to solve the problem. This includes situations where GFCI outlets won’t reset, lights flicker persistently, or both 12-volt and 110-volt systems are affected simultaneously.
Complex issues involving converters, inverters, or battery charging systems require specialized testing equipment and expertise.
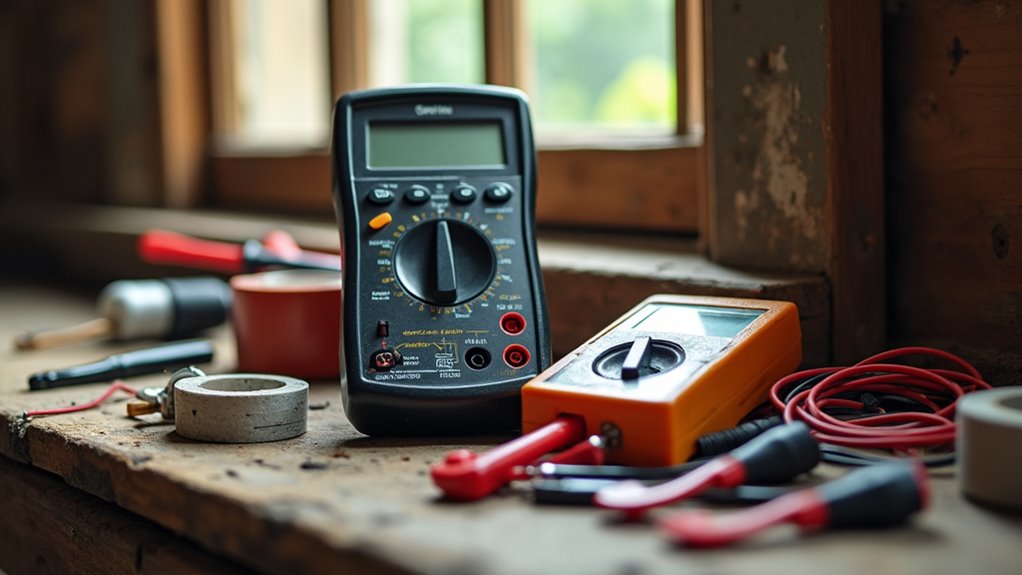
The right tools and equipment are essential for diagnosing and fixing RV breaker issues safely.
You’ll need several key items to properly troubleshoot electrical problems in your RV without putting yourself at risk.
Don’t forget basic safety equipment like insulated gloves and safety glasses.
While these tools represent an investment, they’re vital for safely diagnosing and addressing RV electrical issues yourself.
If the breaker trips again immediately, you’ll need to isolate the problem. Unplug all devices from that circuit and reconnect them one at a time until you identify the culprit.
If you’re running multiple high-power appliances, try using lower-power alternatives temporarily. Check for any loose connections in outlets or visible wiring that might be causing the issue.
Remember to monitor your power consumption carefully to prevent overloading the circuit again. When checking breakers, look for one that’s resting in the middle position, as this indicates it has tripped.
Did you know that 47% of RV electrical issues stem from preventable overloads? You’ve now got the tools and knowledge to tackle those frustrating breaker trips in your RV. Remember to start with the basics: unplug, reset, and check for overloads. If you’re still experiencing problems after following these steps, don’t hesitate to call a professional – it’s better to be safe than sorry with your RV’s electrical system.