Physical Address
304 North Cardinal St.
Dorchester Center, MA 02124
Physical Address
304 North Cardinal St.
Dorchester Center, MA 02124
Gain expert insights into fixing your RV's air conditioner problems, from mysterious noises to weak airflow and everything in between.
When your RV’s air conditioner hums but doesn’t cool, blows warm air, or makes strange noises, you’re facing a problem that needs immediate attention. You’ll find that troubleshooting your RV’s cooling system doesn’t have to be overwhelming or expensive if you approach it systematically. As an RV owner, you can tackle many common AC issues yourself with the right knowledge and tools. Let’s explore the most effective ways to diagnose and fix your unit’s problems.
When your RV air conditioner starts acting up, recognizing the warning signs early can save you from major repairs and uncomfortable trips.
Watch for insufficient cooling power, which often points to refrigerant leaks or compressor problems. If you’re experiencing weak airflow, check your air filters first – they might be clogged with dust and debris. Keep in mind that warm air mixing through gaps in the plenum or duct areas can reduce cooling efficiency.
Don’t ignore unusual smells coming from your AC unit. Musty odors typically indicate mold growth, while burning smells suggest electrical issues that need immediate attention.
You’ll also want to monitor for water leaks, which can stem from clogged condensation drains or faulty drain pans. If your AC displays error codes, pay attention – these digital warnings often signal sensor failures or system malfunctions that require professional diagnosis.
Regular maintenance checks can help you catch these issues before they escalate.
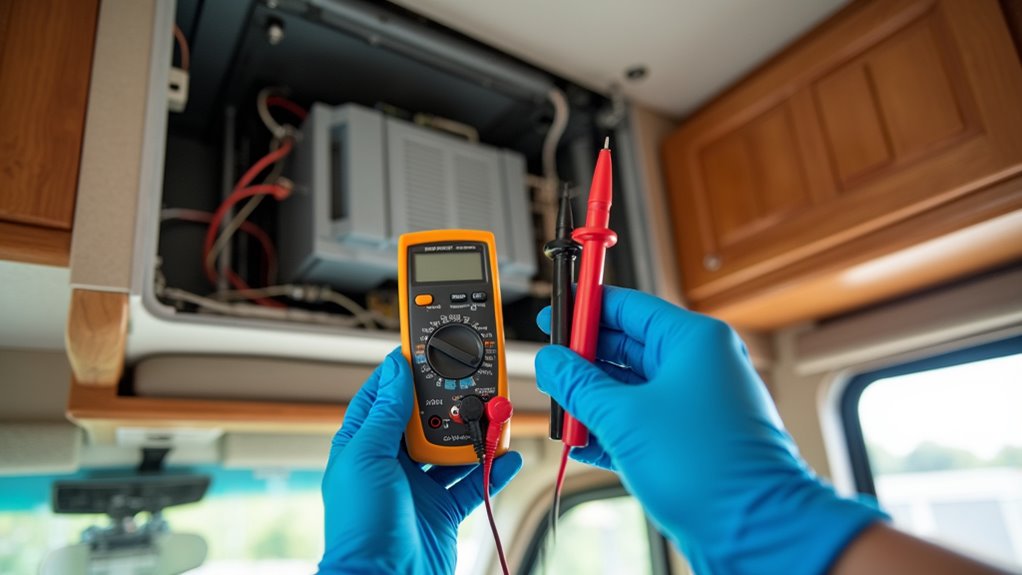
Power issues lie at the heart of most RV air conditioner problems. Your unit relies on both 12-volt DC power for controls and 120-volt AC power for the compressor and fan.
Understanding your RV’s dual power needs – DC for controls and AC for major components – is crucial for proper air conditioning performance.
You’ll need to check both systems to verify proper operation. Test your battery voltage, inspect connections for corrosion, and confirm shore power stability using a voltage tester. If your air conditioner cycles on and off frequently, this could indicate insufficient power supply. While your RV air conditioner can run continuously if properly maintained, always monitor for optimal performance.
Remember to avoid running multiple high-power appliances while your AC is operating, and always maintain clean, secure connections throughout your electrical system.
Beyond electrical concerns, airflow problems rank among the most common RV air conditioner issues you’ll face.
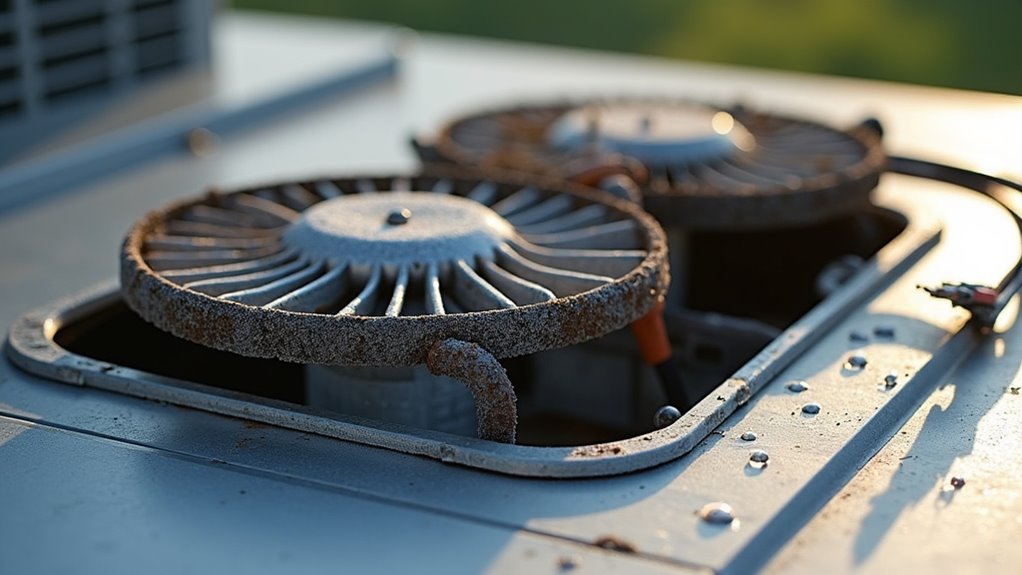
Poor airflow often stems from clogged filters, which you’ll find behind return air grilles. Check these regularly for dirt and debris, and clean or replace them as needed. The evaporator fins accumulation can severely restrict airflow when coated with dust and debris.
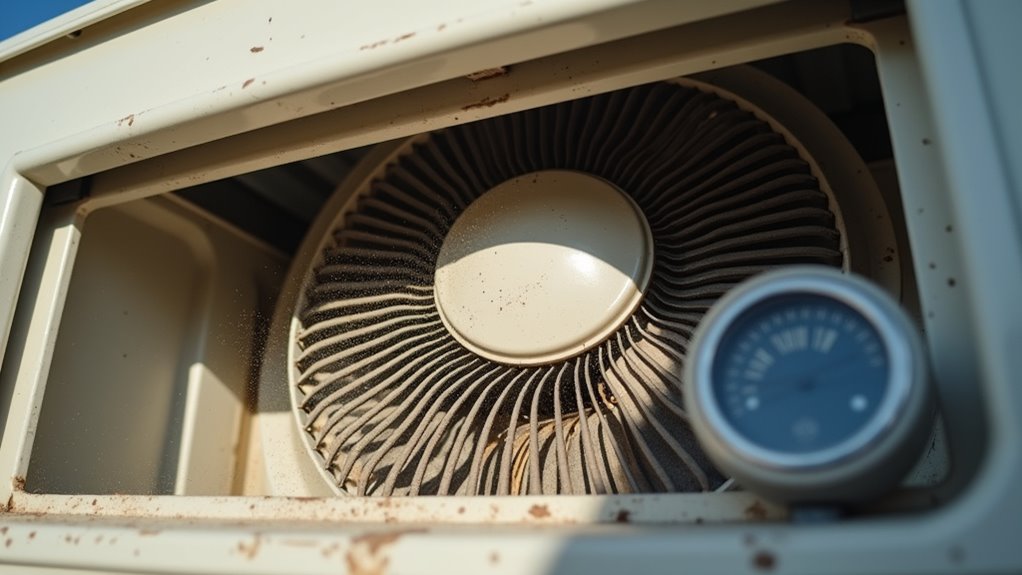
A frozen evaporator coil can severely restrict airflow, typically caused by dirty filters, low refrigerant, or faulty thermostats. If you notice ice buildup, turn off your AC and let it thaw completely.
Inspect your ductwork for leaks, which can waste cold air and reduce efficiency. Seal any gaps using metal tape or caulking strips.
Don’t overlook your thermostat – if it’s malfunctioning, it won’t regulate temperature properly.
Also check for blocked vents and internal obstructions that might be hampering your unit’s performance.
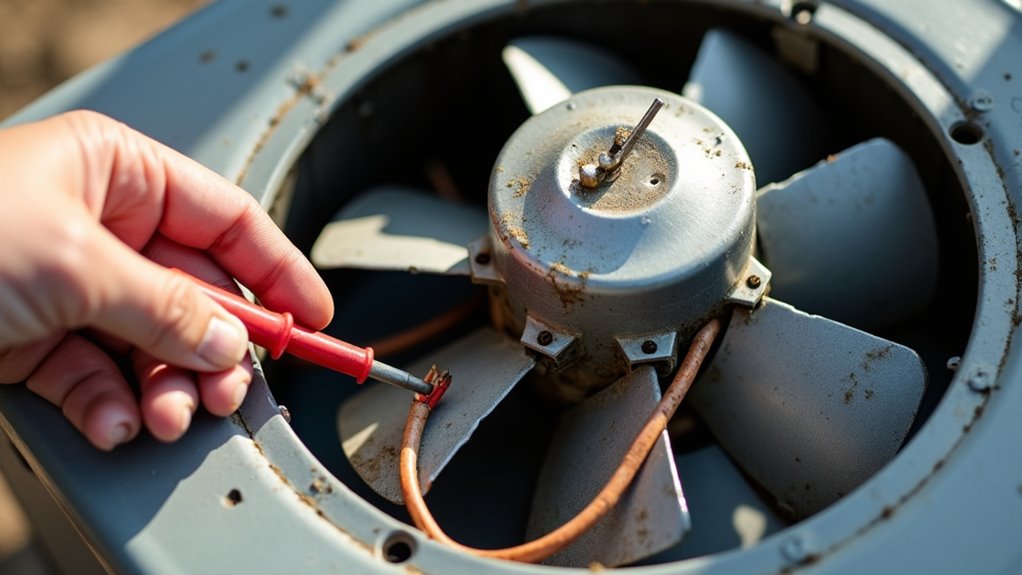
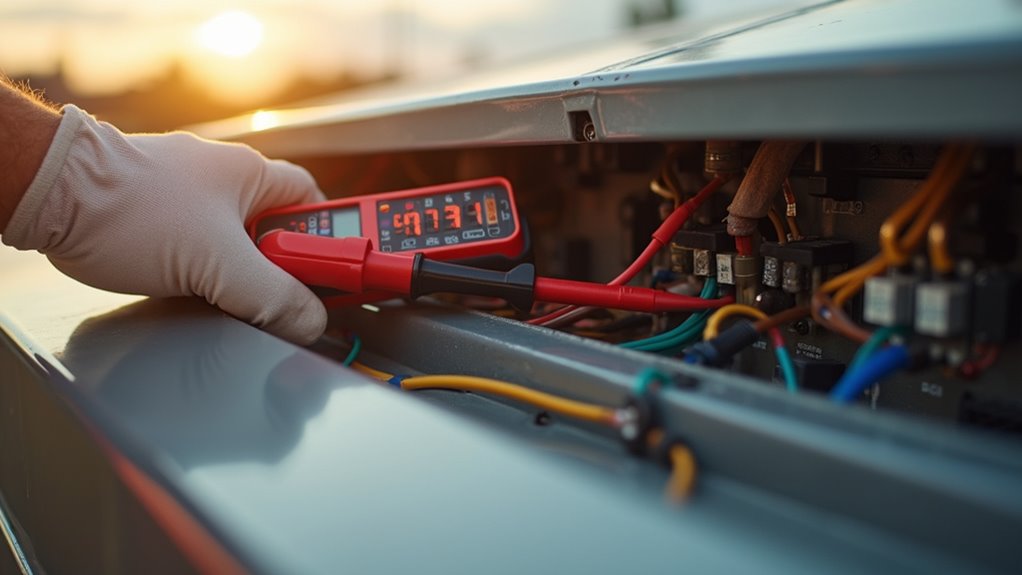
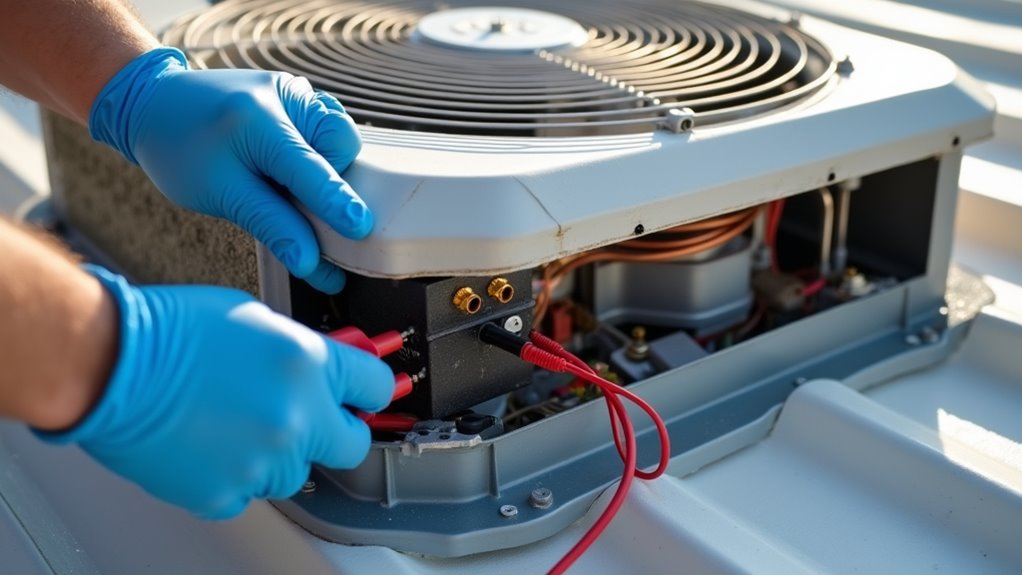
Since fan motor problems can quickly disable your RV’s air conditioning system, it’s important to diagnose and address these issues promptly.
Don’t let fan motor issues leave you sweating. Quick diagnosis and repair keeps your RV’s AC running smoothly.
Start with a visual inspection for obvious damage, then check the power supply and connections. Use your multimeter to test voltage and perform continuity checks on the motor windings. Don’t forget to inspect the capacitor, as it’s often the culprit behind fan motor failures. For aging units over ten years old, failed start capacitors are especially common.
If these steps don’t resolve the issue, you’ll likely need to replace the fan motor entirely.
While fan motor issues often demand immediate attention, maintaining your RV’s refrigerant system and cooling components requires regular preventive care.
Check refrigerant levels with a proper gauge and have a licensed technician recharge if they’re low, as inadequate levels can damage your compressor.
Keep your evaporator and condenser coils clean from dirt and debris, using a soft brush or vacuum annually.
Don’t forget to inspect the foam rubber gasket between the AC unit and roof, replacing it if you spot any gaps or wear.
You’ll also need to maintain proper drainage by checking the drip pan and clearing drain lines with vinegar and water.
Clean or replace air filters monthly during heavy use periods, and verify they’re completely dry before reinstallation.
These simple maintenance steps will keep your cooling system running efficiently.
Even with your RV plugged in to shore power, a functional RV battery is essential for proper AC operation and system controls.
Spring maintenance should include a thorough inspection of your AC unit for any winter damage or debris accumulation.
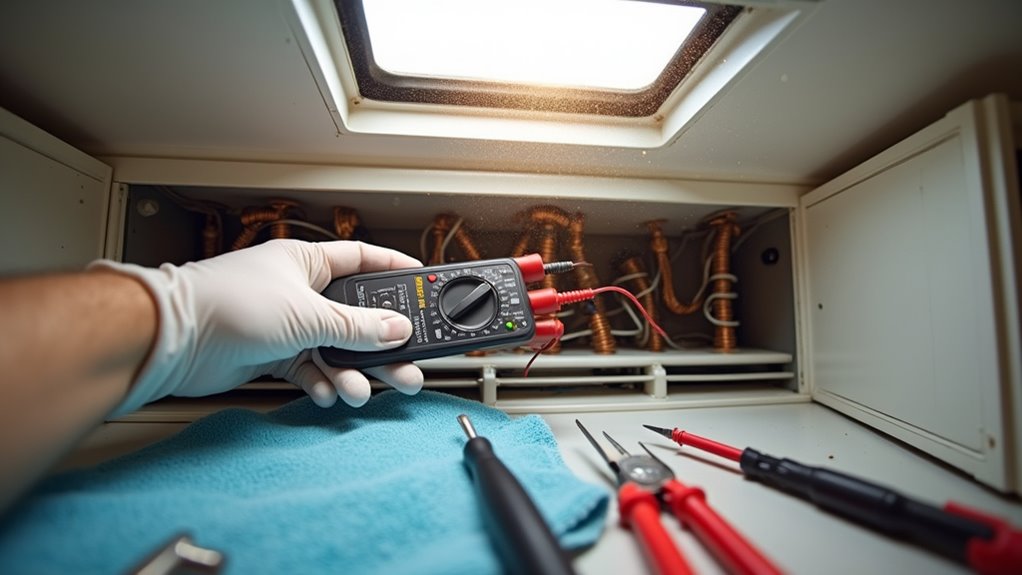
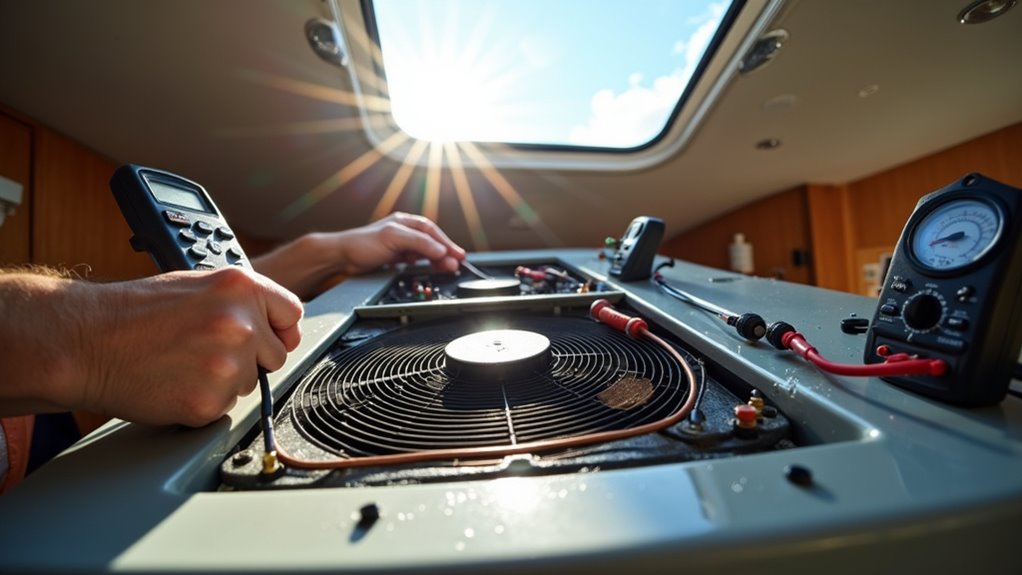
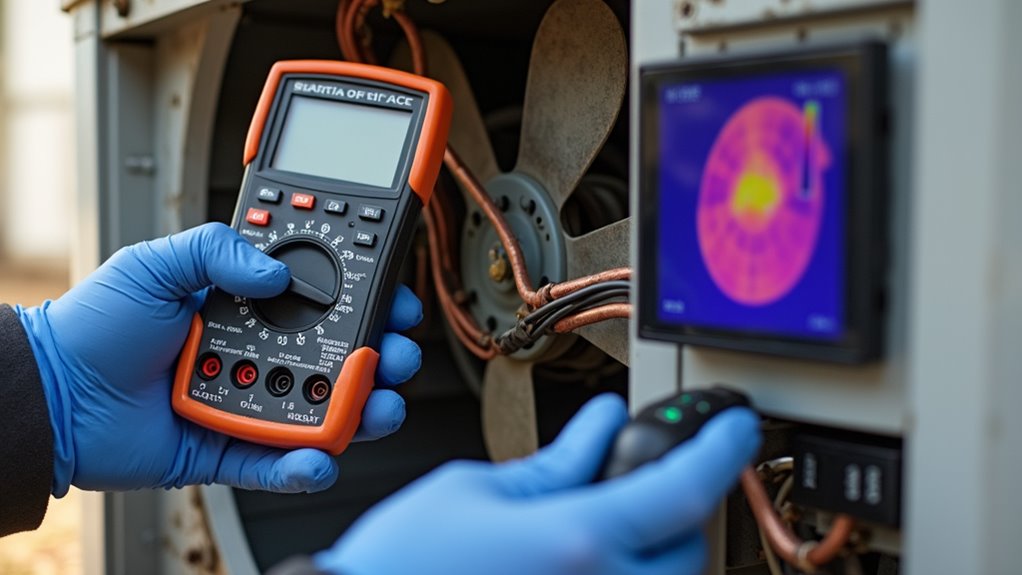
Three essential electrical checks form the foundation of RV air conditioner troubleshooting: power supply verification, connection inspection, and component testing.
A thorough electrical inspection of your RV’s AC system relies on three key checks: verifying power, examining connections, and testing components.
Start by checking your shore power or generator voltage using a voltmeter to guarantee it meets AC requirements. For accurate readings, measure 115V DC voltage from hot to neutral wires. Next, examine all wiring connections for corrosion, looseness, or damage. Finally, test the functionality of critical components like capacitors, fan motors, and the compressor.
To prevent your RV air conditioner from cycling excessively or freezing up, you’ll need to focus on maintaining proper airflow throughout the system.
Keep your air filters clean by checking them monthly and replacing them every 1-3 months. Clean the evaporator fins and condenser coils regularly with a fin comb or soft brush.
Run your fan continuously on high speed during AC operation and avoid low-speed settings that restrict airflow. Don’t use the auto fan setting, as it can allow airflow to drop too low. In areas with high humidity levels, consider using a separate dehumidifier to reduce moisture buildup on the coils.
Keep all vents and registers unobstructed, and set your thermostat to a moderate, stable temperature instead of very low settings.
Regular maintenance is essential – inspect and clean components before heavy use periods, and address any airflow issues immediately to prevent freeze-ups.
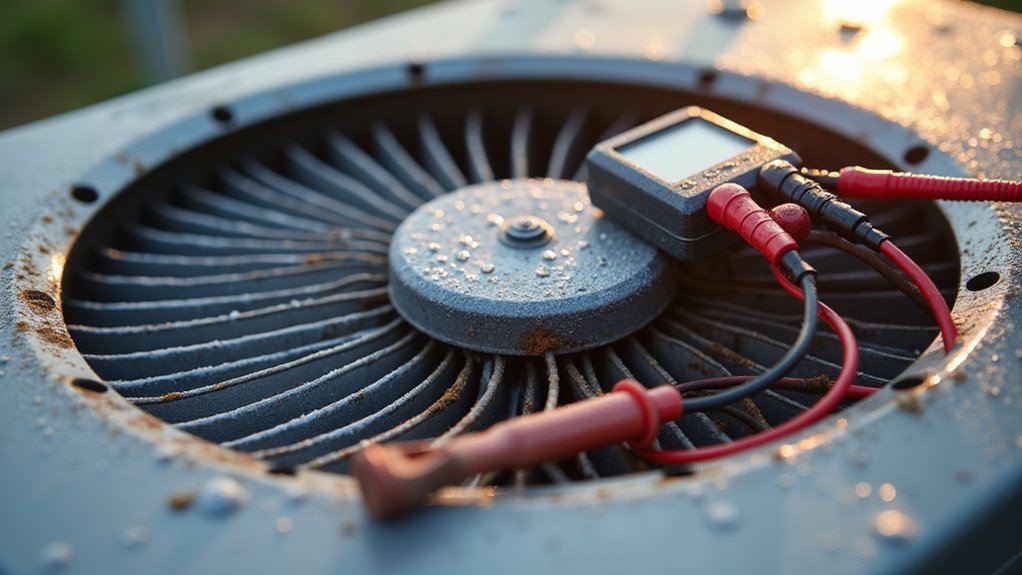
Beyond basic maintenance, diagnosing RV air conditioner problems requires systematic testing and specialized tools.
You’ll need a multimeter to check electrical components, capacitors, and motor windings. Listen for unusual noises and use diagnostic kits designed for Advent Air or Dometic units to independently test the compressor and fan functionality. Always disconnect power sources before removing covers or accessing electrical components.
Regular maintenance of your RV air conditioner extends its lifespan and prevents costly breakdowns during travel. This helps ensure warranty compliance requirements for your RV unit.
You’ll need to inspect the unit monthly for physical damage and clear away debris from the exterior shroud and vents. Don’t forget to check for pest intrusion or blockages.
Clean or replace air filters every month during peak usage – dirty filters can reduce efficiency by 40%.
When cleaning the evaporator and condenser coils annually, use a soft brush and avoid bending the delicate fins.
Keep the drainage system clear by cleaning the drip pan and drain line with a vinegar solution.
Check electrical connections regularly, tightening loose wires and testing amp draw.
Fan motor issues are common causes of AC problems and should be checked during routine maintenance.
If you notice unusual noises or reduced airflow, schedule a professional inspection to prevent system failure.
Like a well-oiled machine, your RV’s air conditioner needs regular attention to keep you cool on the road. You’ll save time and money by following these troubleshooting steps before calling a professional. Check power connections, clean filters, inspect fan motors, and maintain proper refrigerant levels. When in doubt, don’t hesitate to consult a certified technician – it’s better than risking costly repairs later.