Physical Address
304 North Cardinal St.
Dorchester Center, MA 02124
Physical Address
304 North Cardinal St.
Dorchester Center, MA 02124
Can you afford to ignore the three critical mistakes that destroy 90% of DIY RV metal roof installations within twelve months?
You might think installing a metal roof on your RV is too complicated for a DIY project, but it’s actually more straightforward than you’d expect. With the right approach, you’ll save thousands compared to professional installation while getting a roof that’ll outlast your RV itself. The key lies in avoiding three critical mistakes that cause most amateur installations to fail within the first year. Here’s what separates successful metal roof projects from costly disasters.
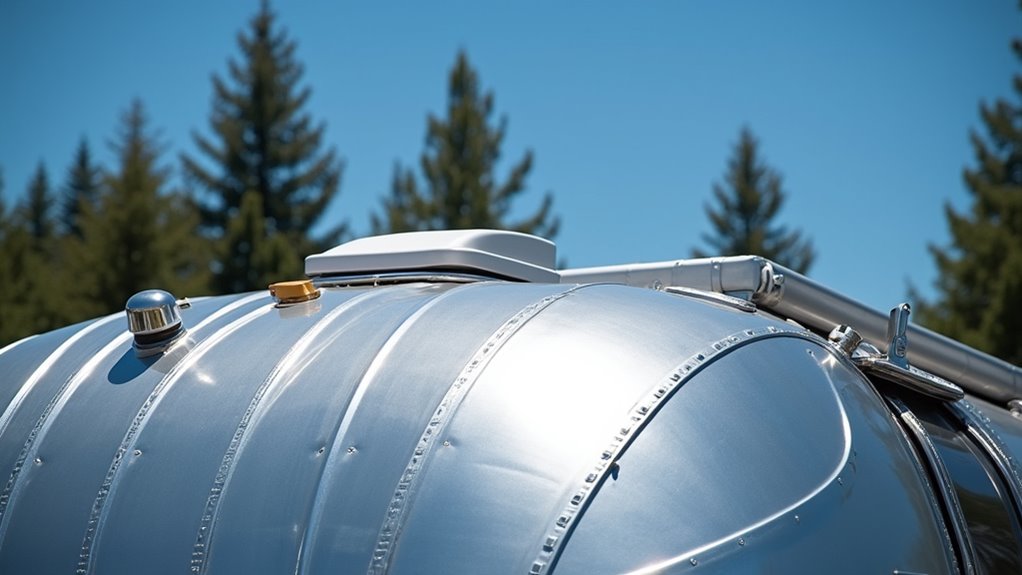
When you’re weighing roofing options for your RV, metal consistently outperforms traditional materials in ways that’ll save you both headaches and money.
While traditional RV roofs typically last 10-15 years, metal roofing delivers 40-60 years of reliable protection. You’ll spend less time on maintenance since metal doesn’t support algae or fungi growth like rubber or fabric materials do.
Metal roofing lasts 4x longer than traditional RV materials while requiring minimal maintenance and resisting harmful growth.
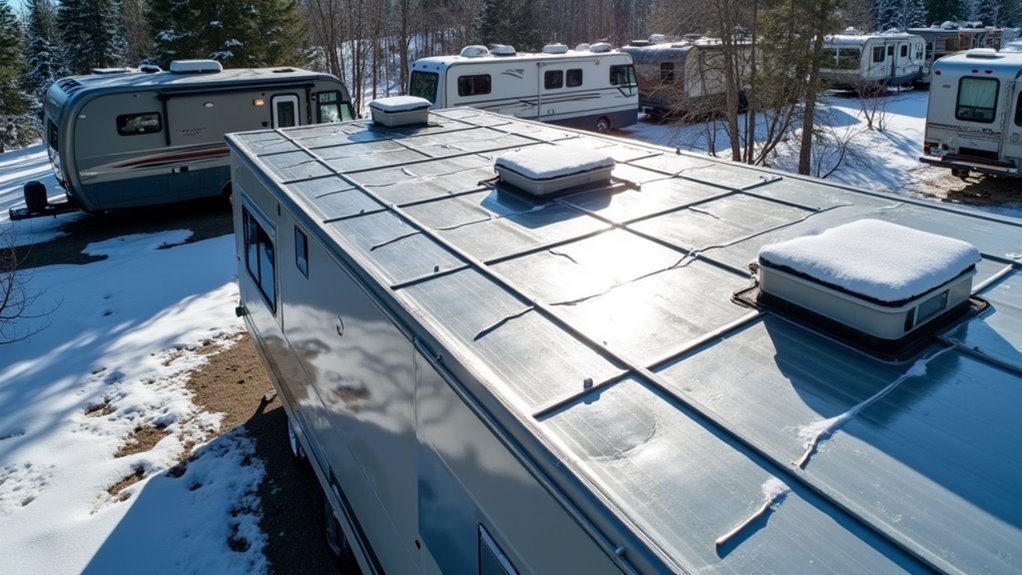
Weather resistance is where metal really shines. It’ll withstand hail, heavy snow, and flying debris that can puncture or tear traditional roofing.
You won’t deal with the cracking, shrinking, or UV degradation that plagues standard materials.
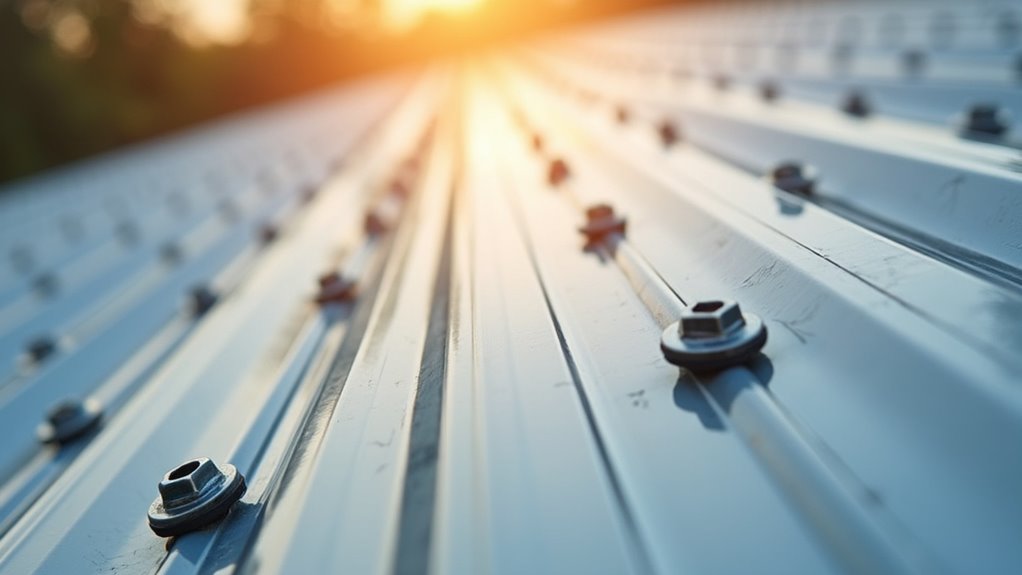
Yes, you’ll pay more upfront, but you’ll recoup costs through reduced repairs, energy savings from heat reflection, and increased resale value. Metal roofs with exposed fasteners are the most budget-friendly option, though they require more maintenance than standing seam systems.
It’s a smart long-term investment.
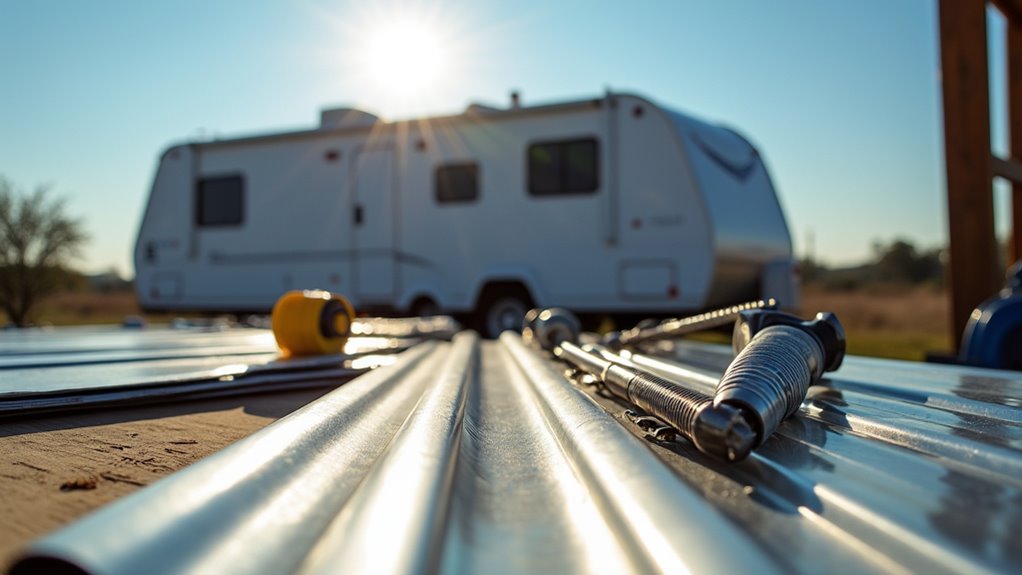
Success with your metal RV roofing project hinges on having the right tools and materials before you start.
You’ll need aviation snips for cutting curves and straight lines, plus double cut shears for longer cuts. Don’t forget flangers to create curled edges and edge markers for precise measurements.
For materials, choose metal panels in aluminum or galvanized steel—they’re budget-friendly and durable.
Stock up on panel screws, clips, and trim pieces like ridge caps and eave trim. Butyl sealant tape is essential for watertight joints.
You’ll also need underlayment, flashings for vents and penetrations, and proper safety equipment. When selecting a drill for your project, choose a torque-controlled screw gun over impact drivers to prevent screw fracturing during installation.
Create a materials list and roof diagram beforehand—this planning saves money by preventing costly mistakes and multiple hardware store trips.
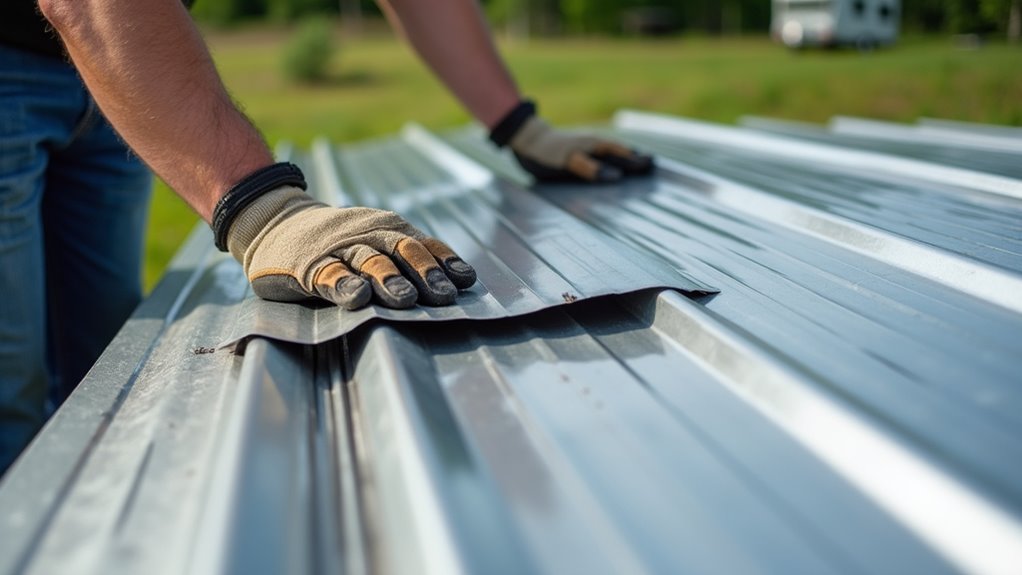
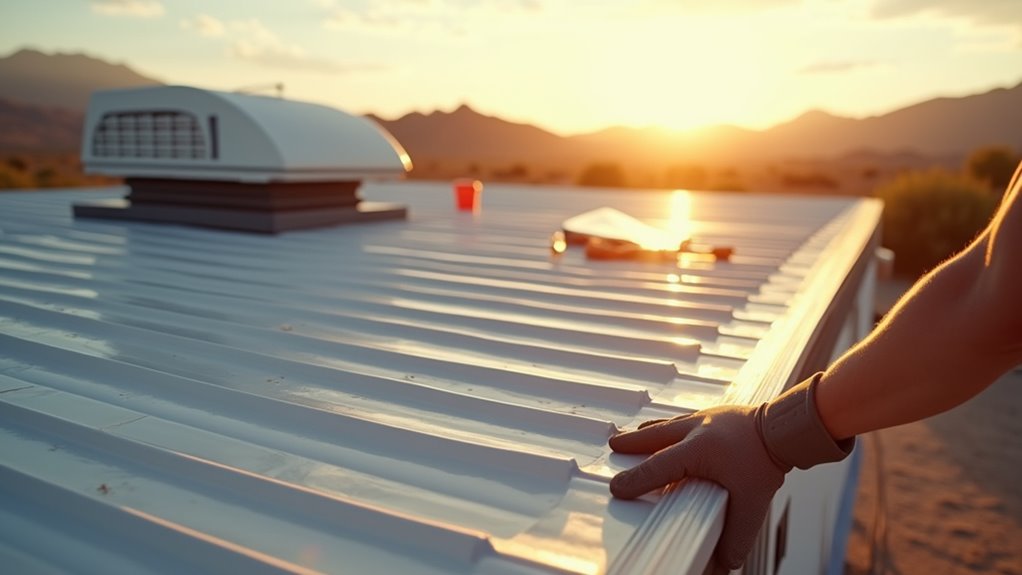
Installing a metal roof on your RV breaks down into five manageable phases that’ll transform your rig’s protection without breaking the bank.
First, you’ll prep by removing old roofing, cleaning the deck thoroughly, and checking for damage. Measure carefully to determine panel quantities and plan your layout.
Proper preparation sets the foundation for success—remove, clean, inspect, measure, and plan before installing your first metal panel.
Next, install underlayment across the entire deck with 6-12 inch overlaps, securing edges against wind uplift.
Then mount metal panels, starting at the eave with slight overhang. Use self-tapping screws spaced 12 inches apart and overlap panels by one ridge for watertight sealing. Consider watching installation videos that demonstrate proper techniques for your specific panel profile to ensure professional results.
Secure the perimeter with eave trim, rake installation, and flashing around vents or fixtures. Install drip edge to direct water away.
Finally, inspect all fasteners, check for gaps, and conduct a thorough walk-through ensuring everything’s watertight.
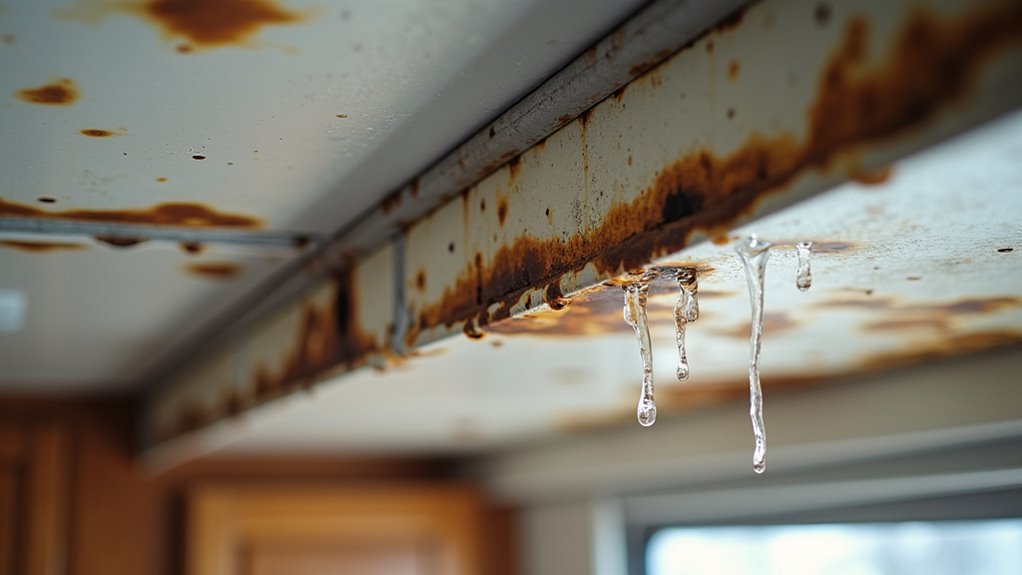
Even with careful planning, metal roof installations can quickly turn into costly disasters if you overlook critical details that separate waterproof success from leaky failure.
Choosing panels incompatible with your RV’s roof pitch creates drainage nightmares, while mismatched panel widths leave gaps for water intrusion.
You’ll face bigger problems if you overdrive or angle screws incorrectly—compressed seal washers fail fast.
Skimping on proper underlayment installation invites moisture beneath panels, rotting your RV’s structure from within.
Poor flashing around roof edges and penetrations guarantees leaks at critical junctions.
Don’t ignore thermal expansion requirements—panels need room to move, or they’ll buckle and loosen fasteners. Using incorrect sealant that isn’t specifically designed for metal applications will fail to bond properly with the metal surface coating.
Finally, using wrong fastener types or lengths creates weak points that’ll cost you thousands in repairs later.

While metal roofing demands a hefty upfront investment—typically $2,000 to $10,000 for professional RV installation—you’re fundamentally buying decades of protection that’ll pay for itself over time.
Compare this to traditional rubber roofs that need replacement every 10-15 years at $500-$3,000 each time. Your metal roof can last 40-50 years, eliminating multiple replacement cycles.
You’ll also pocket savings through reduced maintenance costs, fewer leak repairs, and lower cooling expenses since metal reflects heat efficiently. Many insurance companies offer discounts for fire-resistant metal roofs, and you’ll spend less on generator fuel when your AC doesn’t work overtime.
Factor in preserved resale value and protection against costly water damage, and the math clearly favors metal roofing for long-term RV ownership. Metal roofs offer superior resistance to environmental elements like UV rays, hail, and extreme temperature fluctuations that commonly damage other roofing materials.
Beyond the financial advantages, your metal RV roof delivers performance benefits that’ll transform how you experience life on the road.
You’ll enjoy superior durability that withstands harsh weather without degrading, while the lightweight aluminum construction improves your fuel efficiency and handling. Metal roofs are also known for their low maintenance requirements, making them an ideal choice for RV owners who want reliable protection without constant upkeep.
The energy benefits alone make metal roofing worthwhile:
You’ll also appreciate the fire resistance, corrosion protection, and minimal maintenance requirements.
While there’s some rain noise to take into account, the pest resistance and mold prevention capabilities make metal roofing a smart performance upgrade for serious RVers.
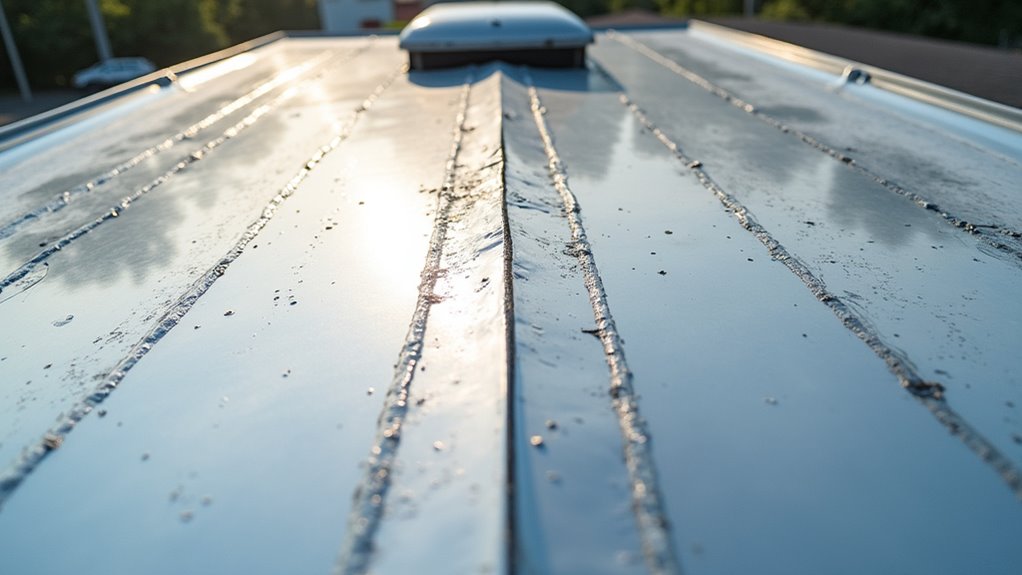
Getting your metal roof panels properly aligned and fastened determines whether your installation looks professional and performs reliably for years to come.
Start by using the 3-4-5 triangle method to establish square reference lines, then snap chalk lines across your RV’s roof surface for consistent panel placement. Remember that squaring is critical after installing underlayment and eave trim to prevent panels from drifting off at an angle.
Begin installing from the lowest edge, aligning your first panel with marked reference lines. This sets the standard for everything that follows.
Use self-drilling screws with rubber washers at raised ribs, maintaining 2-foot spacing on center. Don’t over-tighten – you’ll crush the ribs and compromise seals.
Check alignment after each panel to prevent cumulative errors. Secure trim pieces at recommended intervals, overlapping at corners for continuous moisture protection.
Finally, inspect all fasteners and verify panel alignment against your original reference lines.
Once your metal panels are securely fastened, proper sealing becomes your primary defense against water damage and costly repairs down the road.
You’ll need to focus on surface preparation first—roughen the metal with 120-grit sandpaper and remove all rust, dirt, and debris. Clean thoroughly with dedicated RV roof cleaner, then let everything dry completely.
Choose a rust-inhibitive primer specifically designed for metal roofs, followed by fleece-backed sealing tape for seams and joints.
Here’s your essential sealing checklist:
A quality metal roof coating will also reduce interior temperatures by reflecting heat away from your RV’s surface. Regular inspections after storms help catch problems early, saving you money long-term.
While metal roofs can last decades with minimal care, you’ll maximize your investment by establishing a consistent maintenance routine that catches small problems before they become expensive headaches.
Schedule annual inspections to check for rust, warped panels, and moisture buildup.
Clean your roof twice yearly using mild detergent and water—treat it like washing your RV. Keep gutters clear of debris to prevent water accumulation, and promptly remove leaves or dirt that collect on the surface.
Check that all fasteners remain secure and seams stay intact. Address stains immediately before they become permanent.
Consider applying protective wax to make future cleaning easier and prevent corrosion. Metal roofs can be slippery when wet, so always exercise proper caution during cleaning activities.
Following manufacturer guidelines and handling complex repairs through professionals guarantees your metal roof delivers maximum longevity while protecting your RV investment.
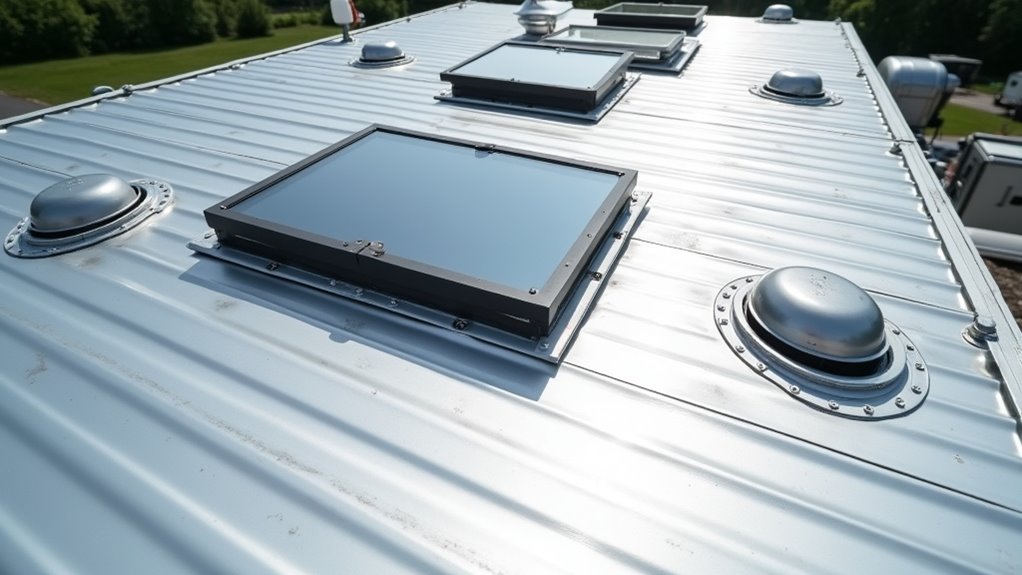
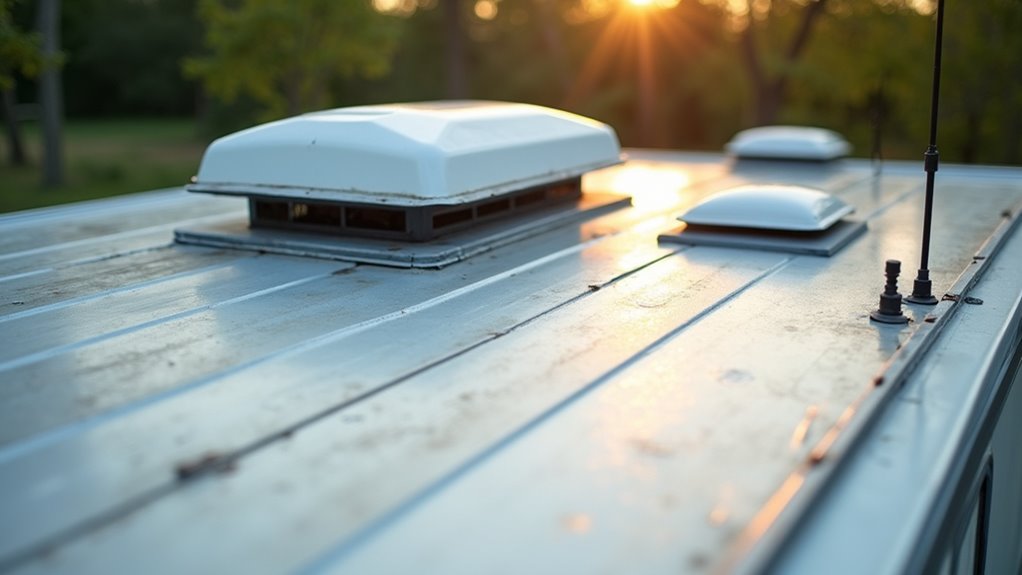
Beyond keeping your metal roof in top condition, you’ll need to map out where vents and accessories will go before installation begins. Most RV roof vents require 14″ by 14″ openings, though sizes can vary. Ridge vents work particularly well with corrugated metal roofs, needing a 2-inch wide opening at the ridge for proper ventilation.
When planning your layout, consider these essential factors:
Clean metal surfaces thoroughly before applying adhesives to guarantee secure installation. Metal roof vents offer superior durability against hail and UV rays compared to plastic alternatives, making them ideal for harsh weather conditions.
You’ll never worry about your RV roof again once you’ve installed metal roofing! Sure, the upfront cost might make your wallet cry a little, but you’re basically building a fortress over your head that’ll outlast cockroaches in a nuclear winter. Follow these installation steps religiously, don’t cut corners on materials, and you’ll have a roof that’s tougher than a two-dollar steak and waterproof as a submarine.