Physical Address
304 North Cardinal St.
Dorchester Center, MA 02124
Physical Address
304 North Cardinal St.
Dorchester Center, MA 02124
Before you pull into that campsite, do you know which side your RV hookups are on and why it matters?
When you’re setting up your RV at a campground, you’ll notice the hookups are almost always positioned on the driver’s side, toward the rear of your rig. This isn’t by accident—it’s a carefully planned industry standard that makes your life easier and safer. However, you might encounter situations where this rule doesn’t apply, and knowing what to expect can save you from frustration and costly mistakes during your next camping adventure.
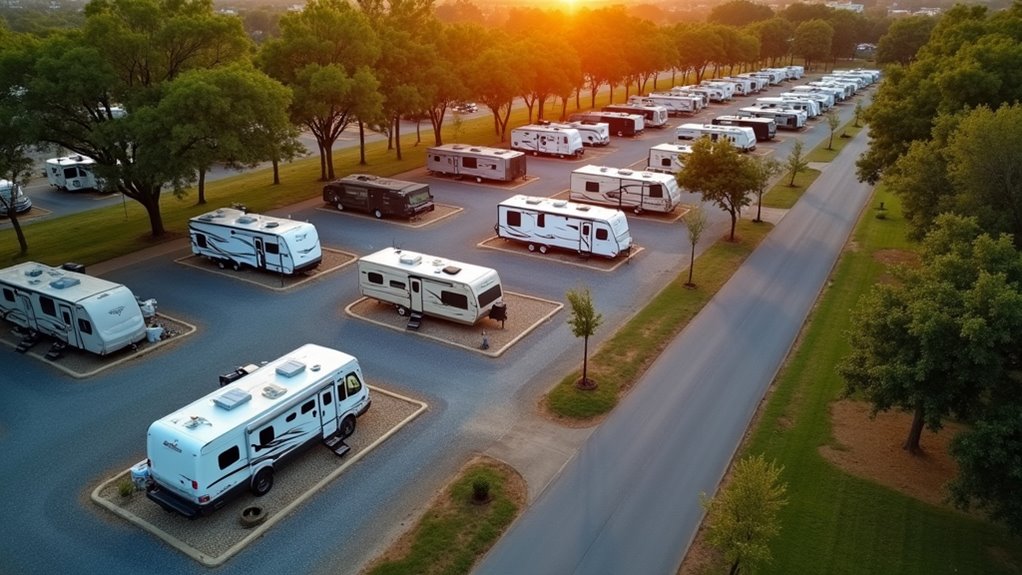
When you’re backing into a campsite for the first time, you’ll quickly discover that RV hookups aren’t randomly placed—they follow a standard layout that makes connecting to utilities straightforward.
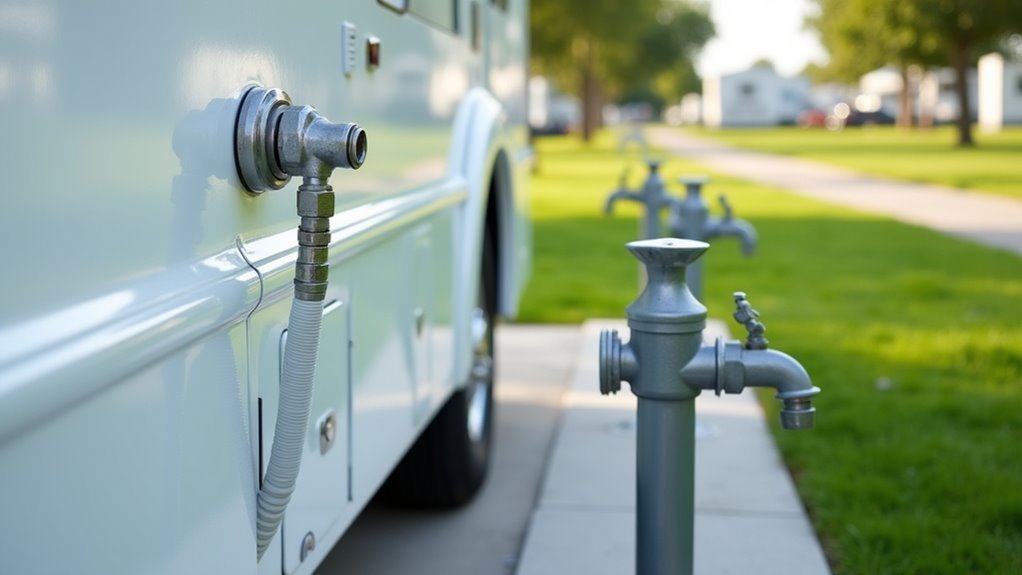
You’ll typically find your RV’s hookups on the driver’s side, positioned near the rear of your vehicle. This isn’t coincidence—it’s designed to align perfectly with campground utility connections. Standardized placement ensures that campers can easily locate and connect their utilities without confusion.
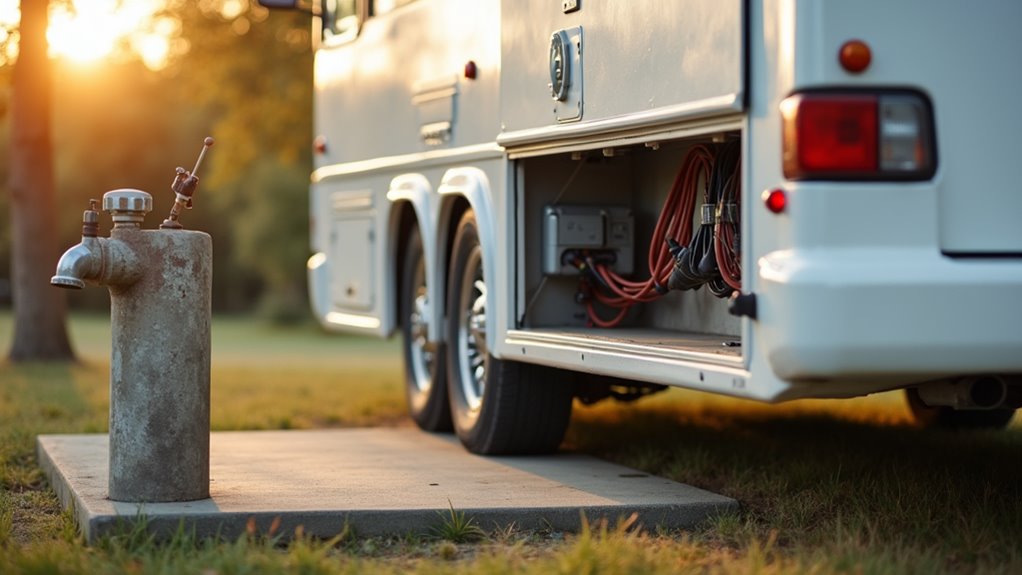
Most campgrounds place their electricity, water, and sewer hookups in predictable locations that match your RV’s configuration. Many campgrounds offer full hookup sites with electricity, water, and sewer connections all conveniently located in the same area.
This standardized placement means you won’t struggle with positioning your rig or need excessive extension cords. Understanding this layout helps you back into sites efficiently and manage your connections safely. Proper positioning is especially essential when dealing with electrical and water hookups, where safety should always be your top priority.
Now that you know where to find your hookups, let’s explore what types of connections you’ll encounter at different campgrounds.
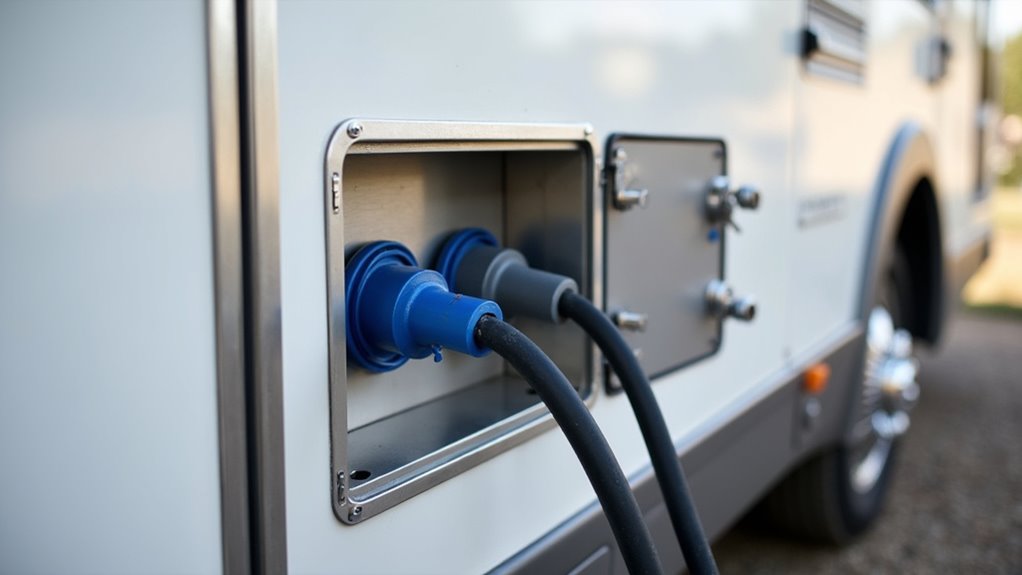
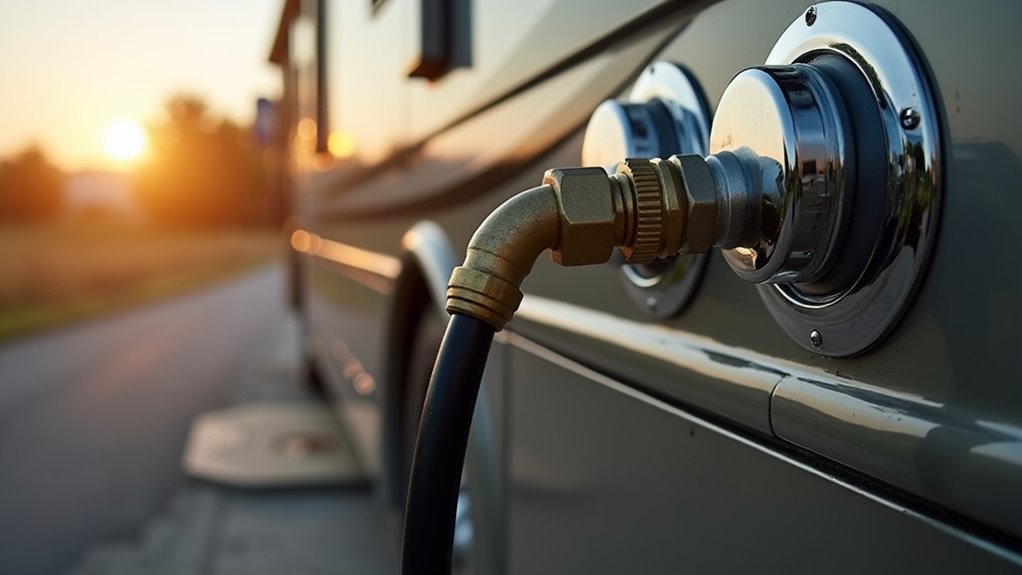
Electric hookups are your most common connection, offering 20, 30, or 50 AMP service through standard plugs. You’ll need to match your RV’s requirements or use converters when necessary.
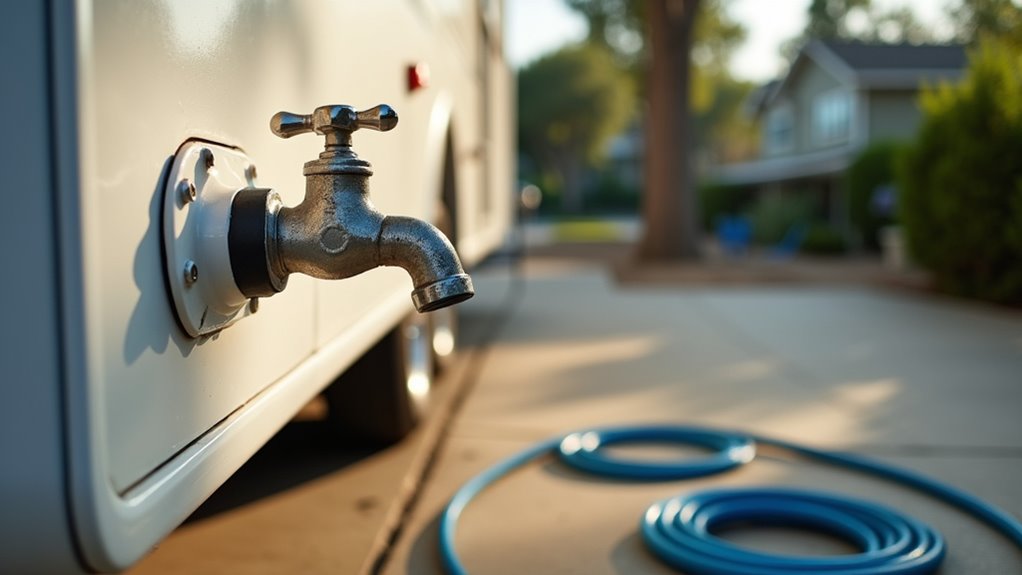
Water hookups deliver fresh, potable water directly to your plumbing system via spigot connections, requiring dedicated potable water hoses.
Sewer hookups handle your black and grey water disposal through capped pipe connections at your site. Gray water tanks store water from sinks and showers, while black water tanks store sewage from your RV’s toilet system.
Cable and WiFi hookups provide entertainment and internet access, though availability varies by campground type.
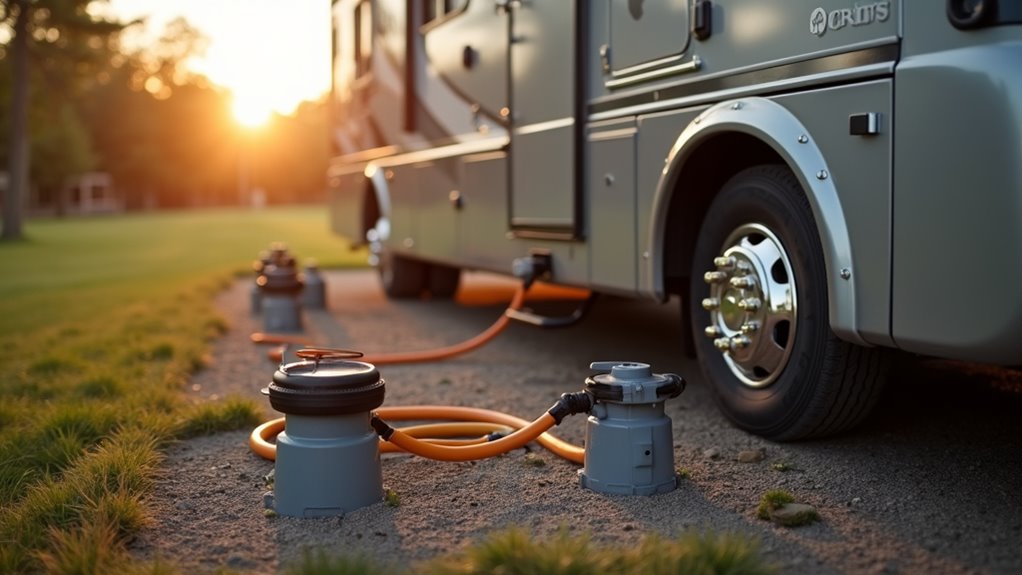
Additional amenities might include propane refilling stations, specialty slide-out power connections, and dump stations for campgrounds without full sewer hookups.
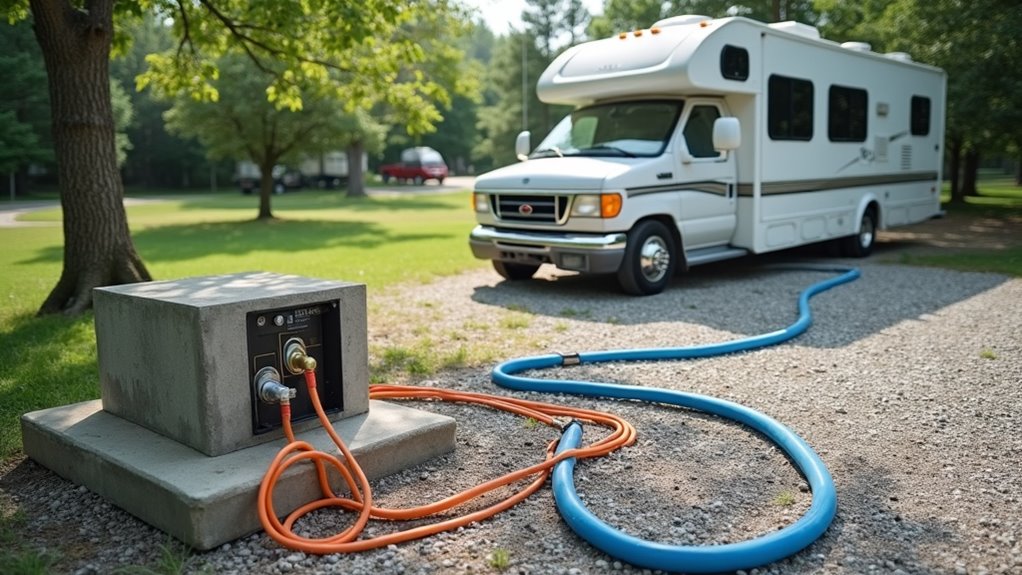
As you pull into campgrounds across North America, you’ll notice that utility pedestals consistently appear on your driver’s side—and there’s solid reasoning behind this standardization.
RV manufacturers deliberately install power, water, and sewer connections on the driver’s side rear section to streamline your setup process. This placement lets you access hookups without crossing pedestrian paths or traffic lanes, improving safety considerably. Plus, driver’s side placement provides quick visibility of your plugged-in status through your rear view mirror.
Campground designers optimize their layouts around this configuration, creating parking pads that accommodate your RV’s entry and exit patterns. You won’t need long extension cords or hoses crossing walkways, which keeps sites tidy and reduces tripping hazards.
This consistency eliminates guesswork during your arrival. You’ll know exactly where to position your RV, making hookups faster and reducing the chance of accidentally driving over cables during departure.
Modern campgrounds balance multiple design challenges to create sites that work seamlessly with today’s RVs. You’ll find well-designed parks incorporate level ground and strategic utility placement to accommodate various RV sizes, from compact trailers to massive motorhomes.
Smart campground designers position hookups for easy access while maintaining proper spacing between sites. These facilities must meet ADA accessibility standards and environmental regulations while preserving existing topography and vegetation.
You’ll notice quality campgrounds minimize tree removal and use natural erosion control measures. Infrastructure planning includes efficient water management and drainage systems that protect surrounding ecosystems. Many progressive parks now implement rainwater harvesting methods to further reduce their environmental footprint.
Modern parks integrate technology like Wi-Fi and innovative amenities to enhance your experience. The best designs result from collaborative planning that guarantees economic viability while maintaining environmental responsibility and regulatory compliance.
Understanding professional campground design principles will help you when you’re ready to create your own RV hookup system at home.
Start by evaluating your site for level ground and checking with utility companies to avoid existing lines. Your parking pad needs at least 4 feet of width with proper drainage—use gravel or cement for stability.
Place your utility post on the driver’s side for easy access. Dig an 8-inch wide, 30-inch deep hole for a sturdy 4×4 post, then secure it with concrete.
For water hookups, run CPVC piping from your house’s main line, installing a shut-off valve and spigot. Add heat tape in cold climates.
Install a dedicated 30-amp or 50-amp electrical circuit with GFCI protection, following local codes. For sewer connections, you can often tie into your existing sewage systems at minimal cost, though some locations may require installing a dedicated RV septic tank.
Once you’ve mastered the basics of RV hookup installation, prioritizing safety becomes your most critical responsibility. Always inspect electrical outlets and power cords for visible damage, loose wires, or corrosion before connecting. Turn off your RV’s power before making any connections to prevent dangerous arcing.
You’ll want to use a surge protector between the campsite outlet and your RV to protect sensitive electronics. Only use adapters rated for your required amperage, and never daisy-chain extension cords. Connect your surge protector to the power source first, then to your RV.
Keep hookup areas clear of debris and flammable materials. If you encounter power issues, check your RV’s breakers before contacting campground staff. Never handle electrical connections in wet conditions. Ensure fire extinguishers are easily accessible near your RV setup area in case of electrical emergencies.
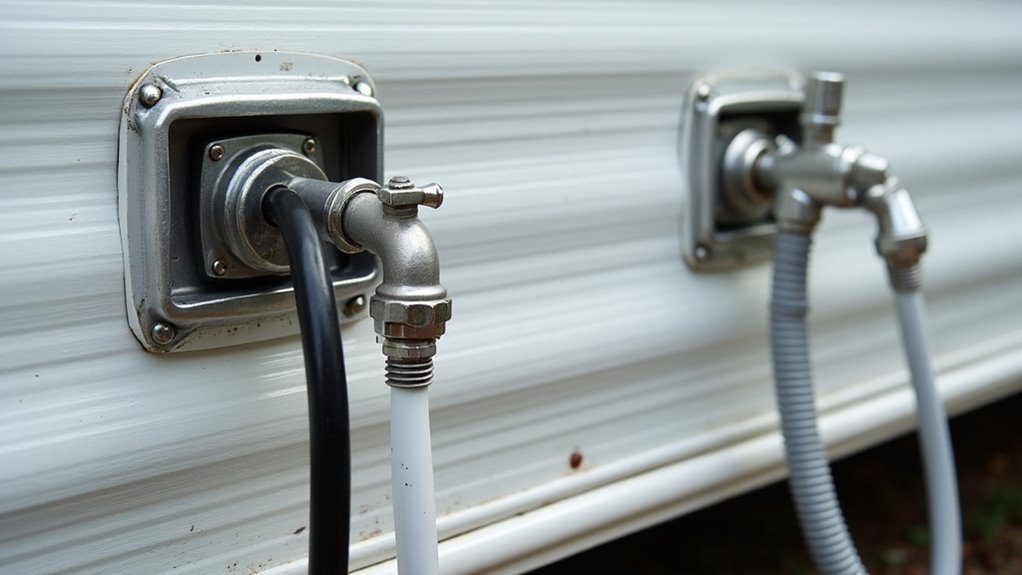
Regular maintenance of your RV hookup connections can save you from costly repairs and uncomfortable camping experiences down the road. Start by inspecting your connections routinely—check for visible leaks, examine hoses and cords for cracks or wear, and guarantee all seals remain intact. Test that connections are snug and secure before each use.
Keep your equipment clean by flushing freshwater hoses before connecting and rinsing sewer hoses after dumping. Store water and sewer hoses separately to avoid cross-contamination. Plus, be aware that RV antifreeze can freeze if not properly protected, which underscores the importance of winterizing your systems to prevent damage during cold weather.
Replace worn components immediately and use a pressure regulator to protect your plumbing system. Always use a surge protector when connecting to electrical pedestals to prevent power surges or fluctuations that could damage your RV’s electrical systems. Document your maintenance activities, noting inspection dates and replacement schedules. This proactive approach prevents unexpected failures and extends your equipment’s lifespan considerably.
While most RVs follow the standard driver’s side placement for hookups, you’ll encounter numerous exceptions that can catch you off guard if you’re not prepared.
Custom RV designs often alter standard locations due to size constraints or unique layouts. You’ll find specialized RVs with rearranged hookups that prioritize functionality over convention.
Campsite variations greatly impact your setup strategy. Some campsites position utilities differently, requiring you to adapt your approach, especially when site-specific configurations differ from standard plans.
Private property installations vary widely based on space constraints and personal preferences rather than standardized placement.
You might also encounter regional differences influenced by local zoning regulations and infrastructure standards.
Climate and terrain affect hookup design, while cultural preferences in certain areas prioritize specific amenities.
Understanding these variations helps you prepare for diverse camping scenarios and reduces setup frustrations. Carrying extra supplies like hoses and electrical adapters ensures you’re ready for unexpected hookup configurations.
You’ll find that understanding RV hookup placement saves considerable time and frustration during setup. Curiously, studies show that 87% of RV parks follow the standard driver’s side configuration, making your camping experience more predictable. However, you should always carry extra extension cords and longer hoses for those 13% of sites with non-standard layouts. By knowing what to expect and preparing for variations, you’ll master the hookup process regardless of campground design differences.