Physical Address
304 North Cardinal St.
Dorchester Center, MA 02124
Physical Address
304 North Cardinal St.
Dorchester Center, MA 02124
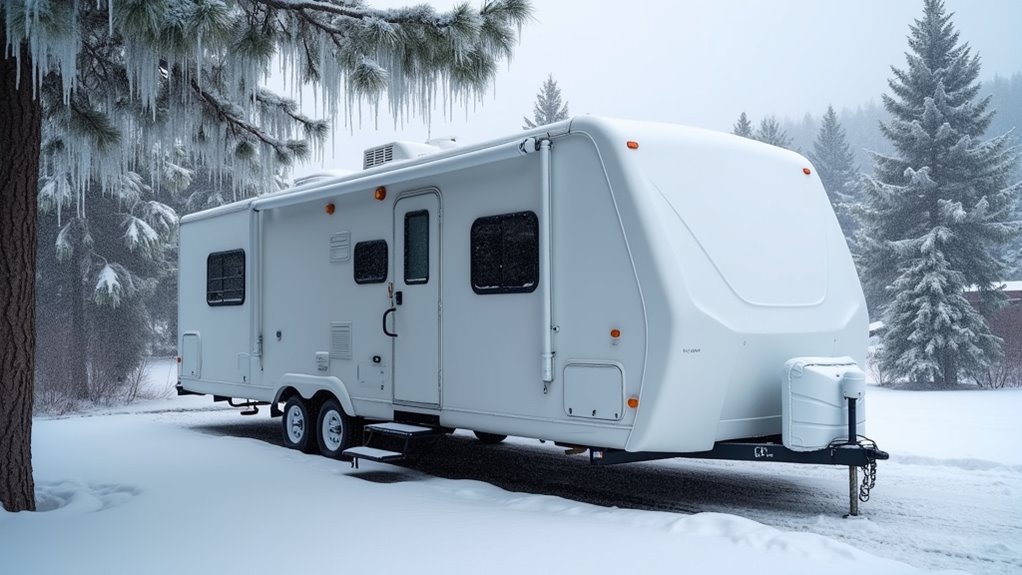
Understand exactly when freezing temperatures trigger thousands in RV damage and discover the critical winterization steps most owners dangerously overlook.
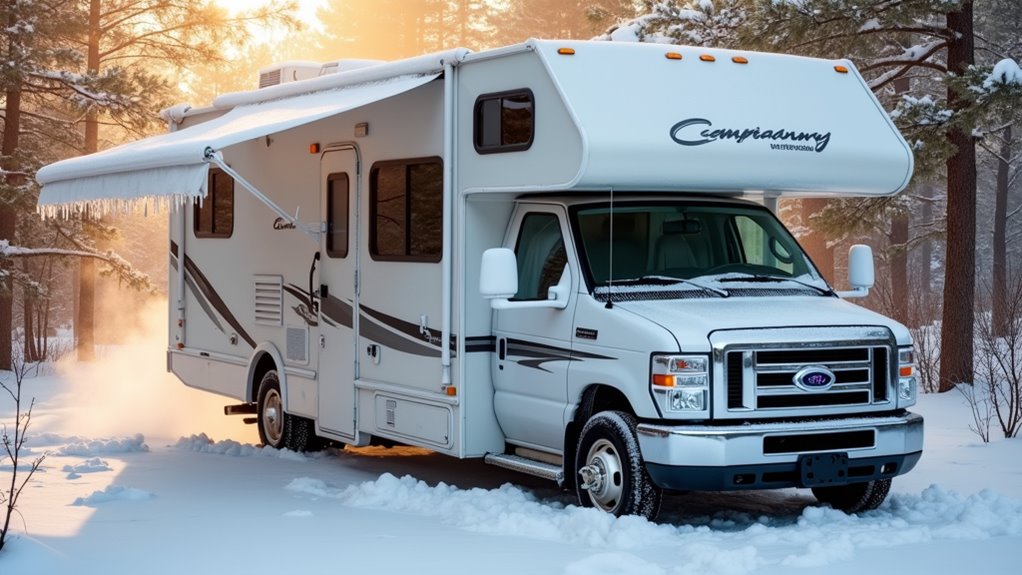
Coincidentally, that first hard freeze warning you just heard on the weather forecast arrived right when you were planning your RV’s winter storage—and that’s no accident you can afford to ignore. When temperatures consistently hover around 32°F, you’re facing potential thousands in plumbing repairs if you don’t act quickly. The difference between a simple winterization process and catastrophic pipe damage often comes down to understanding exactly when to start and which method will protect your specific RV setup best.
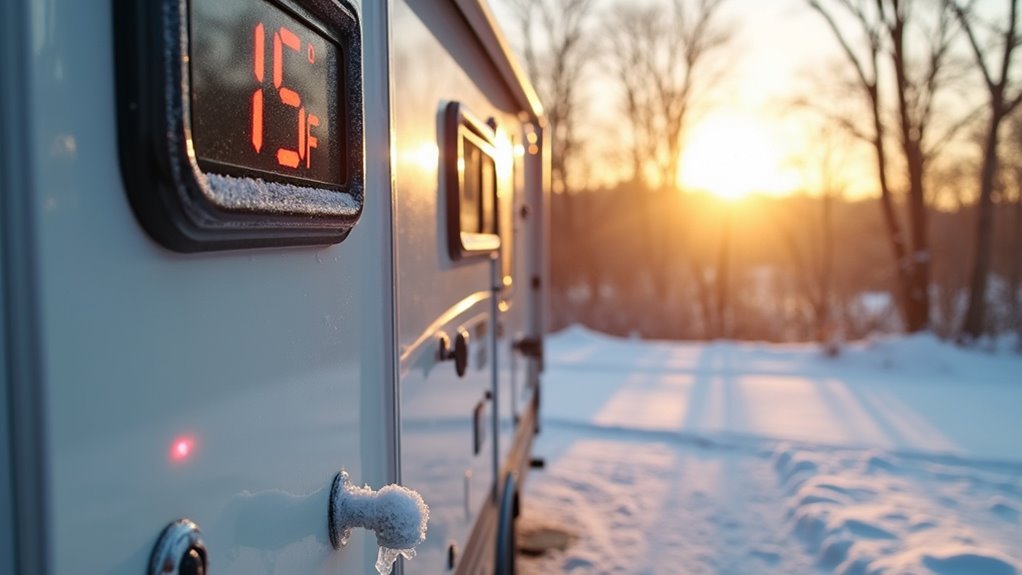
When you’re planning RV adventures or preparing for storage, knowing the exact temperature thresholds for winterization can save you from costly pipe bursts and system damage.
You’ll need to winterize when temperatures consistently drop below 32°F, but don’t wait for extended freezing periods. Even a single freeze can cause significant damage to your RV’s plumbing system.
If nighttime temperatures hit the mid-20s while daytime temps reach the mid-40s, you can use space heaters and set your furnace to at least 55°F instead of full winterization.
However, you should always winterize before storage, regardless of current temperatures, to protect against unexpected cold snaps. Quick winterization processes can take less than 30 minutes when you have your supplies ready.
Monitor local weather forecasts closely since regional variations and temperature fluctuations require different approaches.
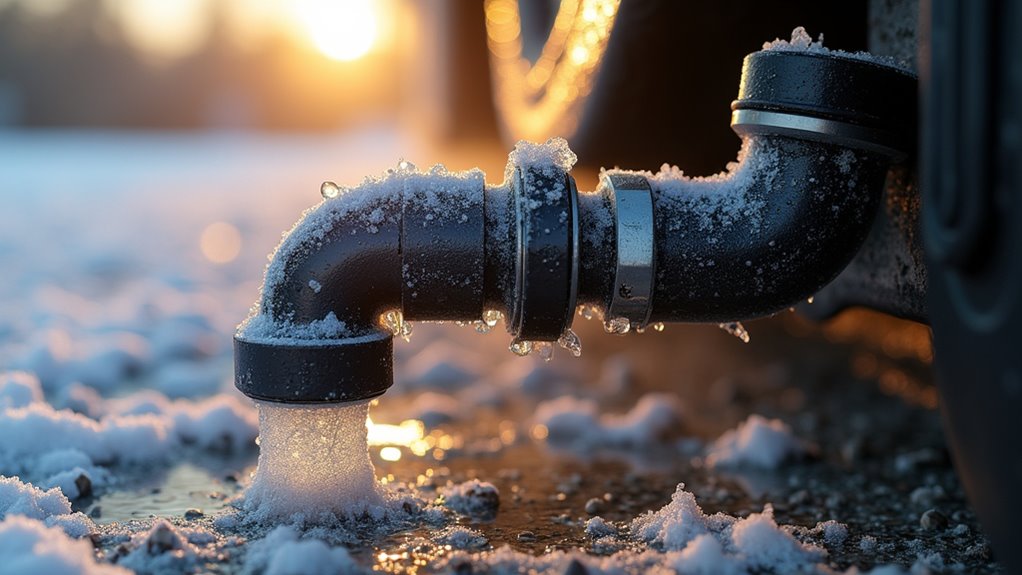
After you’ve determined that winterization is necessary, the most critical step involves systematically draining every drop of water from your RV’s plumbing system.
Start by locating your water heater’s drain valve, typically found near the kitchen on your RV’s exterior. Release the pressure at the heater first, then drain completely—but verify it’s cool to avoid burns.
Always verify your water heater has cooled completely before draining to prevent serious burns during winterization.
Next, open the low-point drains underneath your RV near the water heater. These drains allow water to escape from your system’s lowest points.
Open all faucets inside and outside your RV, including both hot and cold taps, to drain remaining water from pipes. Clear your water pump line by turning on the pump and opening a faucet to ensure complete drainage.
Don’t forget your fresh water tank’s drain valve on the undercarriage. Leave it open after draining to prevent water from being trapped inside.
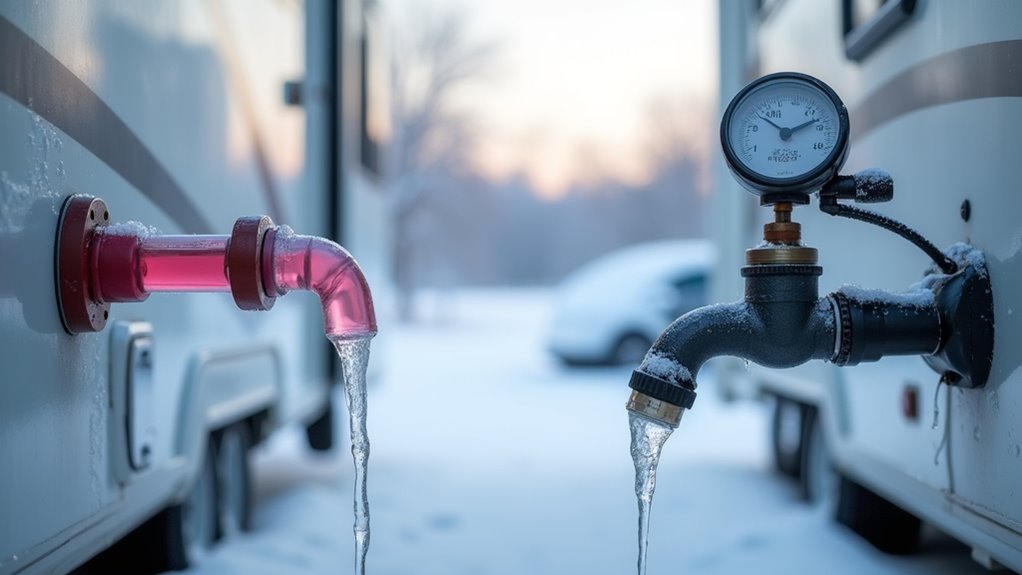
Once you’ve drained your RV’s water system, you’ll face a crucial decision: should you use the wet method with RV antifreeze or the dry method with compressed air?
The wet method involves pouring RV-approved antifreeze into your fresh water tank, running the pump, and opening faucets until antifreeze flows out. It’s simpler since you won’t need specialized equipment, but antifreeze costs add up.
The dry method uses an air compressor to blow water from lines and fixtures. While you’ll avoid ongoing antifreeze expenses, you’ll need proper adapters and must maintain correct pressure to prevent plumbing damage. Some RV owners report that water can settle in copper lines even after using compressed air, potentially causing freeze damage.
Consider your budget, available equipment, and comfort level when choosing your winterization approach.
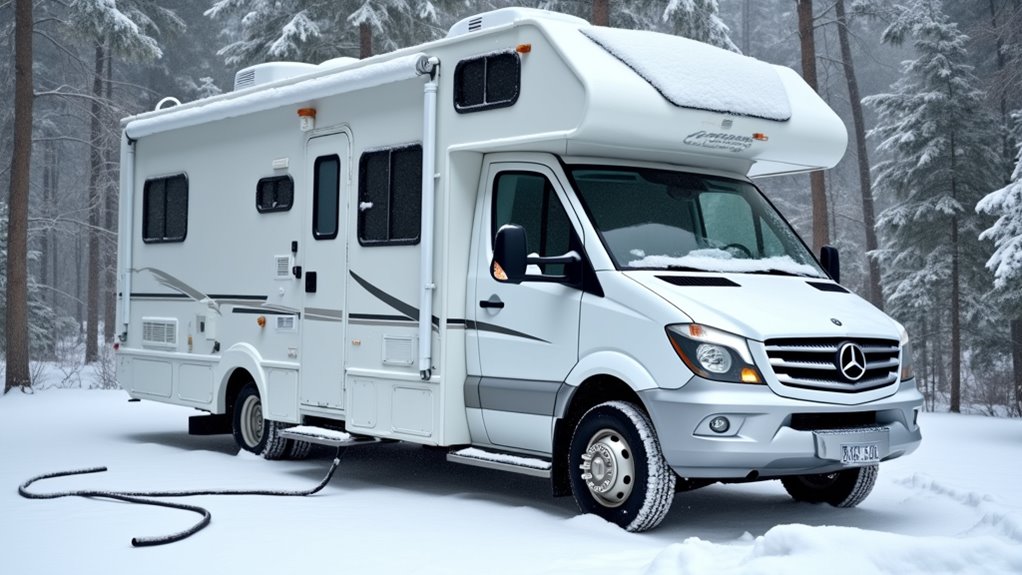
While draining your water system protects against freeze damage, your RV’s exterior faces its own winter challenges that demand equal attention. Snow, ice, and UV rays can crack seals, damage surfaces, and create entry points for moisture and pests.
Start by inspecting your roof for cracks or loose seals, then apply self-leveling sealant to horizontal surfaces and non-self-leveling sealant to vertical areas like windows and doors. Clean all exterior surfaces with non-abrasive cleaner and repair minor scratches immediately. Inflate tires to manufacturer specs and use jack stands to prevent flat spots. Plus, seal any small cracks around vents, doors, and windows to deter rodents and other pests from entering your RV during storage.
Your RV’s internal systems require just as much attention as the exterior when preparing for winter storage. Start by draining your water lines completely, then use an air compressor to blow out remaining water. Fill the system with propylene glycol antifreeze, ensuring it flows through all faucets and toilets. Install a bypass kit to prevent antifreeze from entering your water heater.
Don’t forget your appliances. Empty and secure your refrigerator, then drain heating systems to prevent moisture damage. Disconnect batteries and store them in a cool, dry place. Pour antifreeze into all traps and drains to protect plumbing fixtures.
Finally, insulate exposed pipes with foam insulation and perform thorough inspections for leaks before temperatures drop below freezing. Check tire pressure and inflate to recommended levels as cold temperatures can cause significant pressure drops.
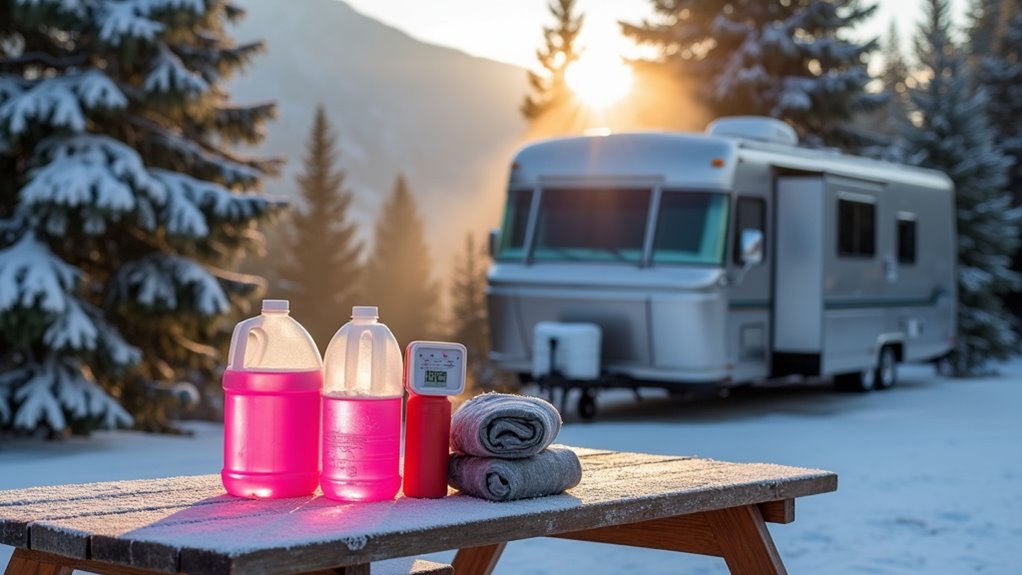
Having the right tools makes winterizing your RV markedly easier and more effective. You’ll need an air compressor and blowout plug adaptor to remove water from your plumbing system, preventing costly freeze damage.
RV/Marine-grade antifreeze protects remaining water in traps and valves. Don’t forget drain valves for your fresh water tank and a screwdriver for various tasks.
Your regional climate greatly impacts your winterization approach. Areas with frequent temperature fluctuations require thorough preparation, while high humidity regions need extra drying measures.
Heavy precipitation zones demand additional exterior sealing. Install MaxxAir vent covers to maintain proper air circulation and prevent moisture buildup even during harsh weather conditions.
You’ve got everything you need to protect your RV from winter’s wrath. Take Sarah from Minnesota—she skipped winterizing her Class A motorhome one November when temps hit 28°F. A burst water line cost her $3,200 in repairs. Don’t let that be you. Whether you’re storing in mild Arizona or brutal North Dakota, following these temperature guidelines and protection methods will save you thousands. Start your winterization process now before that first freeze hits.